Browse Our Simple, Real Food Recipes
Meet Sara Smith
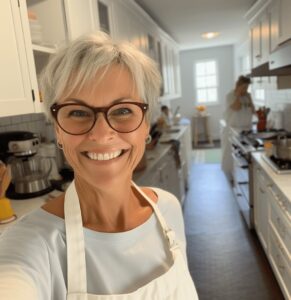
Sara is a 46-year-old home cook from Asheville, North Carolina. She taught herself to cook with pantry staples, seasonal produce, and a lot of trial and error. She works part-time at a local bookstore and specializes in Southern comfort food with creative inte…
Sara Smith
More About UsYour Favorites Made Healthy
Get Our FREE Weekly Meal Plan!
New recipes delivered to your inbox every week.
Our Team
The people behind every recipe — real home cooks sharing what they love.
Sara Smith
Sara is a 46-year-old home cook from Asheville, North Carolina. She taught herself to cook with pantry staples, seasonal produce, and a lot of trial and error. …
Read more →
Lauren
Hi, I’m Lauren, a 42-year-old mom of three from Texas. I’ve spent years in my kitchen turning simple ingredients into comforting, family-loved meals. As a h…
Read more →
Arwa
Hey, I’m Arwa, a 40-year-old mom based in California. Cooking has always been my way of bringing people together, and now I share that passion with others. …
Read more →