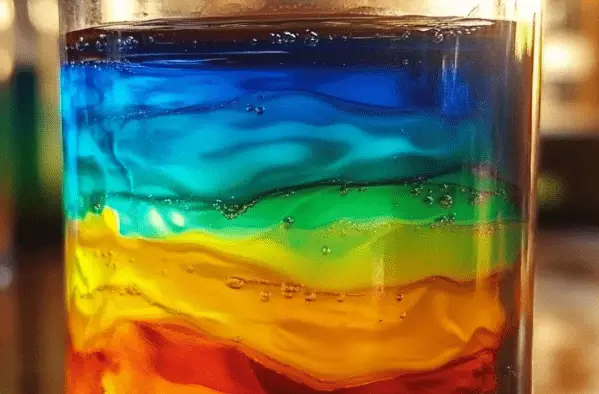
Colors Mix and Swirl in a Mesmerizing Way
What Is the Colors Mix and Swirl Activity?
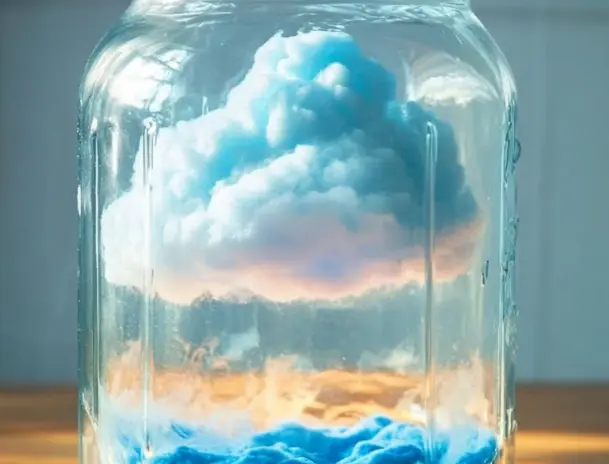
This fun and easy activity lets you watch colors swirl and mix in a jar, creating a magical effect that looks like a rain cloud. It’s a simple science experiment that shows how liquids move and mix. You use water, shaving cream, and food coloring to make something beautiful and colorful right at home. Kids love it because it’s fun to watch, and adults love it because it’s mess-free and creative.
This activity is perfect for a rainy day, a classroom science lesson, or just for fun. It takes only a few minutes to set up and gives instant results. Plus, it uses basic supplies you already have at home.
Why You Will Love This Activity
You will love this activity because it’s fun, fast, and full of color. It doesn’t take much time or effort to create something amazing. Watching the colors slowly drop through the shaving cream is relaxing and satisfying. It feels like watching slow-motion art being painted in a jar.
It’s also a learning opportunity. Kids can see how water and other liquids interact. They learn how colors move through different materials. It’s simple science, but it feels like magic. Best of all, it’s safe and easy to clean up.
Supplies You Will Need
To do this activity, gather the following simple items:
- Clear Vase or Mason Jar: This lets you see the colors swirl inside.
- Shaving Cream: This makes the cloud where the colors fall from.
- Food Coloring Gel: These add the bright colors. Use different colors for more fun.
- Droppers: These help you control how the colors drop into the jar.
- Water: This is the base where everything happens.
- Small Bowls: Use these to mix the food coloring and water.
These supplies are easy to find at home or at a nearby store. You don’t need anything fancy.
Step-by-Step Instructions
Step 1: Mix the Colors
First, get your small bowls ready. Put a few drops of food coloring gel into each bowl. Use a different bowl for each color. Then, add a little water to each one and stir. This makes your colored water.
Step 2: Fill the Jar
Now, take your clear jar and fill it about three-quarters full with plain water. Don’t fill it to the top, or it may spill later. The water is where the colors will fall.
Step 3: Add the Cloud
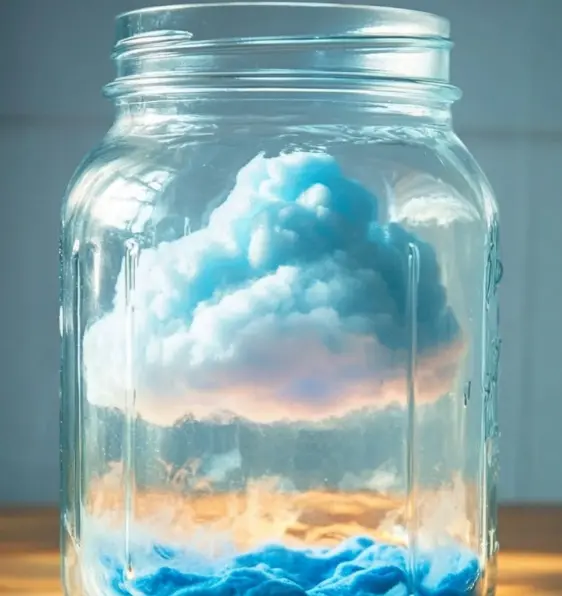
Take your shaving cream and gently spoon it on top of the water in the jar. This is your “cloud.” Try to make it fluffy and even. It should float on top of the water like a real cloud.
Step 4: Drop the Colors
Now comes the fun part. Use the droppers to pick up the colored water from the bowls. Slowly drop the colors onto the shaving cream cloud. Watch as the drops sit for a moment, then fall through the cream and into the water below.
As they fall, they make beautiful trails and swirls of color. Keep adding drops until the jar looks full of color and movement.
Step 5: Make a Rainbow
To make a rainbow version, use six different colors—red, orange, yellow, green, blue, and purple. Drop them into the shaving cream in that order. You’ll see the colors blend and move in a rainbow-like pattern under the cloud.
How to Serve the Experience
You can turn this simple activity into a complete experience. Try these ideas:
- Story Time: Do the activity during story time to match books about weather or rainbows.
- Science Lesson: Use it to teach kids about how rain works, how clouds hold water, or how colors mix.
- Quiet Time: Set it up as a calm visual activity. Watching the colors move slowly can be very peaceful.
- Creative Time: Let kids guess what will happen when they mix certain colors. Ask questions and explore.
How to Store the Materials
You can’t really store the finished cloud, but you can prepare your materials ahead of time. Here’s how:
- Store the mixed food coloring in small cups or jars with lids.
- Keep extra shaving cream in its can with the lid on tight.
- Rinse out the droppers and bowls right after using them and store them in a drawer for next time.
- Store the clear jar dry and clean so it’s ready to use again.
Preparation Tips
Here are some easy tips to make this activity even better:
- Use cool or room temperature water, not hot.
- Use gel food coloring—it gives brighter colors than liquid.
- If the cloud gets too full, wait a bit before adding more drops.
- Set up the activity on a tray or plate to catch any spills.
- Try different jars for different effects—a short wide jar works differently than a tall thin one.
Variation
Want to change things up? Try these fun twists:
- Glitter Rain Cloud: Add a bit of glitter to the colored water for sparkly trails.
- Glow Cloud: Use glow-in-the-dark food coloring and turn the lights off.
- Ocean Rain Cloud: Use only blue and green shades to create a sea-themed version.
- Holiday Theme: Use red and green for Christmas, orange and black for Halloween, or pink and red for Valentine’s Day.
Each variation gives a fresh and exciting look to your color clouds.
Frequently Asked Questions
Can I use whipped cream instead of shaving cream?
No, it’s better to use shaving cream. Whipped cream is food-based and can spoil quickly. Shaving cream holds its shape better and doesn’t melt as fast.
Is this safe for young kids?
Yes, it’s safe with supervision. Don’t let them eat the shaving cream. Use non-toxic materials, and always watch small kids closely during the activity.
What if I don’t have droppers?
You can use a spoon or a small straw instead. Just drip the color gently over the cloud to see the same result.
Can I do this activity again with the same jar?
Once the colors mix, it’s hard to reuse the same water. But you can rinse the jar and start fresh anytime.
Does it stain?
Food coloring can stain fabric or skin, so it’s a good idea to wear old clothes or use a table cover. Wash hands and surfaces right after the activity.
⏱ Tiempo: 10–15 minutos
🍽 Porciones: 1 visual experience
