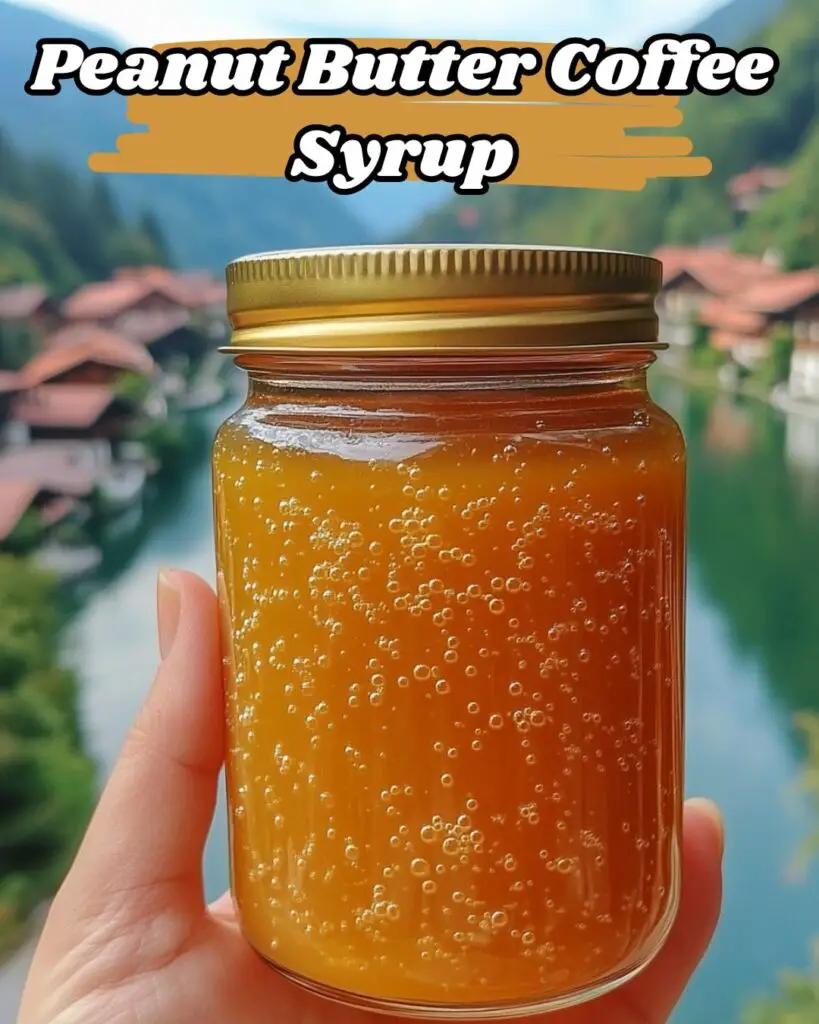
Homemade Peanut Butter Syrup: A Sweet DIY Delight
If you’re searching for a delicious and simple craft that doubles as a treat, this homemade peanut butter syrup is about to become your favorite kitchen creation. With just three ingredients, this DIY syrup offers the perfect blend of nutty richness and sugary sweetness. It’s not only a fun project to try at home, but also a versatile syrup that can elevate anything from pancakes and waffles to smoothies and coffee. Whether you’re a busy parent, a foodie, or someone who loves a sweet project, this syrup ticks all the right boxes.
In this article, we’ll dive into the presentation of this syrup, walk you through the simple ingredients and instructions, explore the benefits of this DIY craft, share tips for the best results, answer frequently asked questions, and offer additional sources for even more DIY inspiration.
Table of Contents
Presentation: A Golden, Glossy Drizzle of Perfection
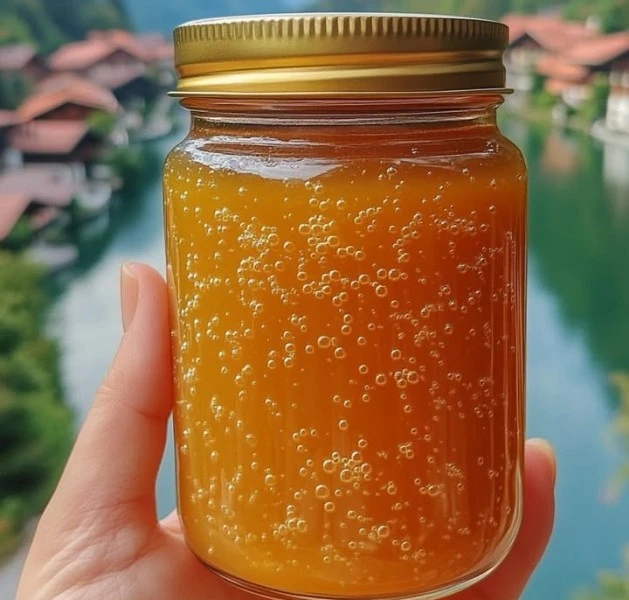
There’s something incredibly satisfying about creating your own syrup from scratch. This peanut butter syrup boasts a rich, golden hue and a luxuriously smooth texture that glides effortlessly over any dish. When poured into a glass jar or bottle, it immediately becomes gift-worthy. You can label it, tie it with a ribbon, or package it as part of a homemade breakfast kit.
When served warm, it has a velvety, pourable consistency perfect for drizzling. Once cooled, it thickens just enough to create the perfect topping for desserts like brownies or banana splits. The aroma is irresistibly nutty with a warm sweetness that makes it hard to resist dipping your spoon in for a taste.
Ingredients: Just Three Kitchen Staples
What makes this syrup so amazing is its simplicity. You likely already have all the ingredients in your pantry:

- 1 cup granulated sugar
- 1 cup water
- 1/2 cup peanut butter
That’s it! No preservatives, no artificial flavorings—just pure, delicious ingredients that come together in a magical way.
Instructions: Easy Steps to Sweet Success
Follow these simple steps to create your homemade peanut butter syrup:
- Combine Ingredients: In a medium saucepan, add 1 cup of granulated sugar, 1 cup of water, and 1/2 cup of peanut butter.
- Heat Gently: Place the pan over medium heat. Stir occasionally to help everything melt and blend smoothly.
- Simmer and Stir: Allow the mixture to cook for 5–10 minutes, stirring every few minutes. You’ll know it’s ready when the sugar is fully dissolved, and the syrup is smooth and creamy.
- Strain: Carefully pour the syrup through a fine mesh sieve to remove any small bits or lumps that might have formed. This step ensures a silky-smooth texture.
- Cool and Store: Let the syrup cool completely before transferring it to a clean jar or bottle. Store it in the refrigerator for up to two weeks.
Benefits of This Craft: More Than Just a Sweet Treat
Creating homemade peanut butter syrup isn’t just about the final product—it’s also about the experience. Here are a few reasons this craft is so rewarding:
- Budget-Friendly: With only three affordable ingredients, this DIY syrup saves money compared to buying specialty syrups.
- Customizable: You can tweak it to suit your preferences—add vanilla for warmth or a pinch of sea salt for contrast.
- Versatile Uses: Drizzle over pancakes, stir into coffee, blend into milkshakes, or use as an ice cream topping.
- Educational for Kids: This is a great way to introduce kids to basic kitchen science like melting and mixing.
- Homemade Gift Option: Poured into a mason jar with a tag, it makes an excellent handmade gift for friends and family.
Tips for the Best Peanut Butter Syrup
Here are some expert tips to help you get the most out of this simple syrup:
- Use Creamy Peanut Butter: For the smoothest texture, use regular creamy peanut butter instead of chunky or natural styles that separate.
- Low and Slow: Avoid high heat to prevent the syrup from burning. Medium heat is best for even cooking.
- Stir Often: Regular stirring helps prevent sticking and promotes a creamy texture.
- Cool Before Storing: Always let the syrup cool before sealing it in a jar to avoid condensation and sogginess.
- Add Flavor Twists: Try adding a drop of vanilla extract, a sprinkle of cinnamon, or a hint of maple syrup for a unique flavor twist.
Conclusion: A Craft That Delivers Delicious Rewards
This peanut butter syrup is proof that DIY projects don’t have to be complicated to be rewarding. With just three ingredients and a few easy steps, you can whip up a homemade treat that’s rich, sweet, and completely customizable. Whether you’re drizzling it on a stack of pancakes or gifting it to a friend, this syrup is a perfect blend of creativity and comfort. It’s more than just a kitchen project—it’s a little moment of joy in every spoonful.
FAQ: All About Peanut Butter Syrup
Can I use crunchy peanut butter instead of creamy?
You can, but the syrup won’t be as smooth. For best results, stick to creamy peanut butter.
How long does homemade peanut butter syrup last?
Stored in the refrigerator, it should last up to two weeks in an airtight container.
Can I reheat the syrup if it thickens too much?
Absolutely. Just microwave it for 15–30 seconds or warm it in a saucepan with a splash of water to loosen it.
Is this syrup safe for people with peanut allergies?
Unfortunately, no. You can experiment with alternatives like almond butter or sunflower seed butter if allergies are a concern.
Can I freeze this syrup?
It’s not ideal for freezing, as the texture may change. For best results, make smaller batches to enjoy fresh.
Other Sources for More Inspiration
If you love making kitchen crafts like this syrup, here are a few more ideas to spark your creativity:
- DIY Chocolate Syrup: Made with cocoa powder, sugar, and water—perfect for chocolate milk or desserts.
- Homemade Caramel Sauce: Buttery and rich, ideal for drizzling over apples or cheesecake.
- Flavored Coffee Syrups: Create syrups using vanilla, hazelnut, or cinnamon for coffee bar vibes at home.
- Infused Honey: Try adding rosemary, lemon, or lavender to honey for a gourmet twist.
- Fruit-Based Syrups: Simmer berries or stone fruits with sugar and water to make fresh, fruity syrups.
- pinterest : for more creatives
These projects not only bring joy to your kitchen but also add a personal touch to meals and gifts.