Paper Mache Glue Recipes: Easy and Affordable Craft Adhesives for All Ages
Craft lovers, parents, and teachers rejoice—making your own paper mache glue is not only cost-effective, but also incredibly easy. Whether you’re working on a school project, a weekend art activity, or planning a creative session at home, having a reliable homemade glue can elevate your paper mache results without breaking the bank.
This article provides three easy paper mache glue recipes using simple household items. Whether you prefer the classic flour-based methods or a quick PVA mix, these options will suit your crafting style. Plus, homemade glue is safer for kids, customizable, and eco-friendly.
Table of Contents
Ingredients
To prepare your own paper mache glue, choose from three easy recipes:
No-Cook Flour Glue:
- 1 part white flour
- 2 parts water
Cooked Flour Glue:
- 1 part white flour
- 4 parts water
PVA Glue Version:
- 2 parts white school glue (like Elmer’s)
- 1 part water
Note: Avoid using gluten-free flour, as it may not produce the desired consistency.
Instructions
No-Cook Flour Glue
- Add the water to a mixing bowl.
- Slowly whisk in the flour until a smooth, lump-free consistency is reached.
- Let the mixture rest in the fridge for a few hours before using.
- For better texture, use warm water when mixing.
Cooked Flour Glue
- In a saucepan, whisk together the flour and water.
- Heat the mixture over medium heat, stirring constantly.
- When it begins to bubble, remove from heat.
- Let it cool fully before applying to your project.
PVA Glue Version
- Combine white school glue and water in a mixing container.
- Stir until fully blended.
- Use immediately—this is ideal for small or quick paper mache projects.
Benefits of This Craft
Making your own paper mache glue has many advantages beyond just saving money:
- Budget-Friendly: Flour and water are much cheaper than store-bought glue options.
- Safe for Children: No harmful chemicals—ideal for classroom or home use.
- Eco-Conscious: Uses biodegradable, compostable ingredients that are less harmful to the environment.
- Customizable: Adjust thickness by changing water ratios or adding more flour.
- Encourages Creativity: With homemade glue on hand, you’re more likely to dive into spontaneous art activities.
- Educational: Great for teaching kids basic cooking, measuring, and scientific principles like viscosity and texture.
Tips
To make your homemade glue even more effective, keep these tips in mind:
- Use warm water in the no-cook version to make mixing easier and reduce clumps.
- Stir constantly when cooking flour glue to avoid lumps and burning.
- Let the mixture cool completely before applying it to paper to prevent warping.
- Label your containers and date them if you plan to use leftovers.
- Always store flour-based glue in the fridge, especially if you plan to reuse it after a few days.
- Test consistency before starting a big project. You can always add a bit more water to thin it or flour to thicken.
What Does It Look and Feel Like?
Each glue recipe has a different look and texture:
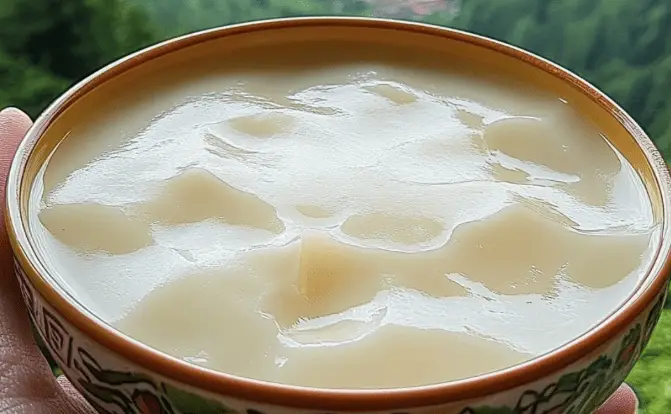
- No-Cook Flour Glue: Smooth and creamy, slightly runny, with a mild flour smell. It dries clear but may take longer.
- Cooked Flour Glue: Thicker and more gelatinous. It offers a firmer hold and dries faster than the no-cook version.
- PVA Glue Version: Translucent, thinner, and dries faster. Leaves a glossy finish compared to the matte look of flour-based glue.
Once dried on your paper mache project, each glue will harden to form a firm and durable base for painting or decorating.
How to Store
Proper storage helps extend the life of your homemade glue:
- Flour-Based Glues: Store in airtight containers in the refrigerator. Lasts 2–4 days depending on freshness of ingredients. If it begins to smell sour or grow mold, discard immediately.
- PVA Glue Version: Can be stored at room temperature in a sealed container, away from sunlight, for up to a week. Stir before reuse.
Be sure to label your containers, especially if kids are involved, to avoid confusion with food items.
These paper mache glue recipes are simple, safe, and highly effective for all kinds of creative projects. Whether you’re building a piñata, sculpting a decorative bowl, or designing art for school, these glues offer flexibility and affordability. With just a few basic ingredients and steps, you can replace expensive craft adhesives with something natural, DIY-friendly, and fun to make.
Want to discover more DIY-friendly recipes and craft ideas? Head over to our full project index on cookfastly.
You can also see this beautiful paper mache inspiration on Pinterest to get started:
FAQ
Q: What’s the best glue for large paper mache projects?
A: The cooked flour glue provides the best durability and structure for bigger or heavier builds.
Q: Can I make this glue in advance?
A: Yes. Flour-based glues can be stored in the fridge for a few days. Stir well before using.
Q: Is it okay if the flour glue smells a little sour?
A: If it smells sour, it may be starting to spoil. Discard and make a fresh batch.
Q: Can gluten-free flour be used?
A: It’s not recommended. Gluten-free flour lacks the bonding properties needed for proper adhesion.
Q: How long does paper mache take to dry?
A: Typically 12 to 24 hours depending on humidity and thickness. Using a fan can help speed up the drying process.