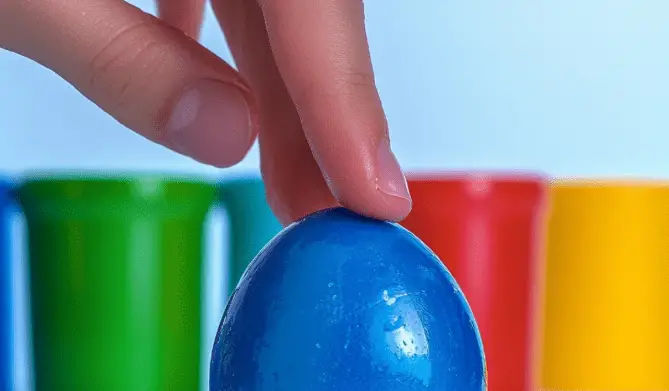
Homemade Pop Rocks: The Fizzy Candy Craft That’s a Hit for All Ages
Making your own Homemade Pop Rocks is more than just a fun kitchen experiment—it’s a trip down memory lane with a modern twist. This exciting project brings together science, flavor, and nostalgia into one delightful treat that crackles on your tongue. Whether you’re planning a party, looking for a creative gift idea, or simply want to enjoy some sweet science, this DIY candy is a perfect choice for both kids and adults alike.
Table of Contents of Homemade Pop Rocks :
Ingredients
To make your own batch of Homemade Pop Rocks, you’ll need the following ingredients:
- 1 cup granulated sugar
- 1/2 cup light corn syrup
- 1/4 cup water
- 1/4 tsp baking soda
- 1 tsp flavored extract (like raspberry, orange, or cherry)
- 2–3 drops food coloring (optional)
- 1/4 tsp citric acid
- 1/4 tsp baking soda (for the fizz)
Instructions
- Prepare a baking sheet by lining it with parchment paper and lightly greasing it. This helps the candy release easily once it sets.
- In a saucepan over medium heat, combine the granulated sugar, light corn syrup, and water. Stir the mixture continuously until the sugar dissolves. Once it’s fully dissolved, stop stirring.
- Let the mixture cook until it reaches 300°F (the hard crack stage). This temperature ensures that the candy will cool into a solid, brittle form.
- Remove the saucepan from heat and immediately stir in the baking soda, citric acid, flavored extract, and food coloring (if using). The mixture will bubble and foam—this is exactly what you want.
- Pour the candy mixture onto your prepared baking sheet and spread it evenly. Let it cool completely at room temperature.
- Once hardened, use the back of a spoon or a rolling pin to break the candy into tiny shards resembling classic pop rocks.
- Store the finished candy in an airtight container to preserve its fizz and flavor.
Benefits of This Craft
Creating your own pop rocks offers several surprising benefits beyond just the sweet taste. It’s a fantastic way to:
- Introduce basic chemistry to kids through temperature stages and reactions.
- Control the ingredients and eliminate artificial additives often found in commercial candies.
- Customize the flavors and colors to suit holidays, parties, or personal preferences.
- Save money compared to buying specialty novelty treats at stores.
- Create handmade gifts that are unique and memorable.
This is more than just a recipe—it’s an educational and entertaining project that can bring families and friends together in the kitchen.
Tips
- Use a candy thermometer to ensure the mixture reaches 300°F exactly. Accuracy is key for achieving the signature crackle.
- Work quickly when adding the fizzing ingredients to the hot sugar syrup—once off the heat, it sets fast.
- Let the candy cool fully before breaking it; rushing this step can make the texture chewy rather than crisp.
- Use gloves when breaking the candy into small pieces to avoid sticky fingers or cuts from sharp edges.
- If you’re making a large batch, store it in multiple small containers to keep each portion as fresh as possible.
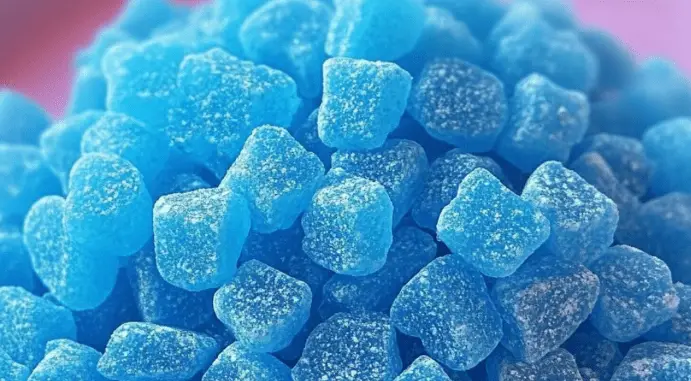
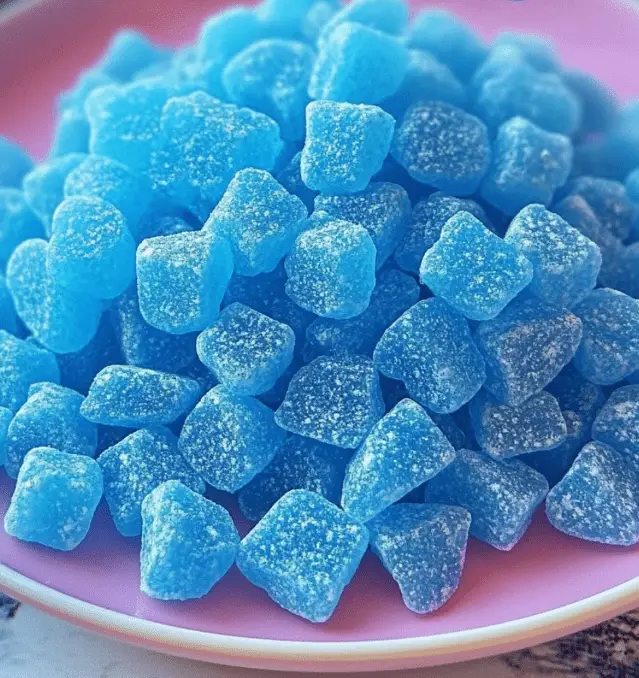
What Does It Taste Like?
The final result is a thin, crisp candy that shatters easily and immediately fizzes on contact with your tongue. The addition of citric acid brings a subtle tang that intensifies the sensation, while the flavoring extract adds a familiar fruity sweetness. Whether you choose raspberry, cherry, or even mix a few flavors together, the candy will deliver an exciting, sparkling taste experience.
How to Store
Proper storage is crucial to keeping your Homemade Pop Rocks fizzy and fresh. Follow these storage tips:
- Store in an airtight container to prevent moisture from softening the candy.
- Keep the container in a cool, dry place away from sunlight and humidity.
- Avoid refrigerating or freezing, as temperature fluctuations can affect the texture and fizz.
- If you’re gifting the candy, use sealed plastic bags or food-safe jars with tight-fitting lids.
Stored correctly, your pop rocks can stay fresh and fizzy for up to two weeks.
Homemade Pop Rocks are a perfect example of how simple ingredients and a little creativity can create something magical. They’re fun to make, delightful to taste, and an excellent conversation starter. Whether you’re reliving childhood memories or introducing this treat to a new generation, this recipe adds a pop of joy to any occasion.
For more creative and flavorful DIY crafts that are just as fun to make, don’t miss out on exploring More DIY craft ideas where you’ll find a wide range of inspiring recipes and food projects.
FAQ
Can I use honey instead of corn syrup?
No, honey has a different sugar composition and moisture content, which will affect the candy’s ability to reach the hard crack stage needed for proper texture.
Is citric acid necessary?
While optional, citric acid is what gives the candy its signature tart pop and enhances the fizzy reaction. You can find it in most baking or health food stores.
Can I use natural food coloring?
Yes, natural food dyes like beet powder or turmeric can be used, though they may alter the flavor slightly.
Why isn’t my candy fizzing like commercial pop rocks?
Store-bought pop rocks are made under pressurized carbon dioxide, which is hard to replicate at home. This recipe gives a milder but still fun popping effect using baking soda and citric acid.
Is this safe for young kids?
Yes, but always supervise children when cooking or handling hot candy mixtures and when enjoying hard candies that could pose a choking hazard.