DIY Hydro Dipped Ornaments: A Stunning Holiday Craft to Personalize Your Tree
The holiday season is the perfect time to get creative and add a handmade touch to your decorations. DIY Hydro Dipped Ornaments are a beautiful, mess-friendly project that transforms ordinary clear ornaments into one-of-a-kind works of art. Whether you’re decorating a Christmas tree, wrapping gifts with a personal twist, or hosting a crafting session with friends or family, this easy and eye-catching project offers a festive way to express your creativity.
This DIY craft is both fun and functional, allowing you to explore color combinations and artistic designs while creating ornaments you’ll want to use year after year. Hydro dipping, a paint-floating technique, results in mesmerizing marble-like patterns that make every ornament truly unique. The process is simple enough for beginners and exciting enough to keep seasoned crafters entertained.
Table of Contents
Ingredients
To make your own hydro dipped ornaments at home, gather the following materials:
- Clear glass or plastic ornaments
- Acrylic paint in various colors
- Disposable container (large enough to dip ornaments)
- Toothpicks or skewers (for swirling paint)
- Paper towels
- String or hooks (for hanging the ornaments)
You’ll also want to work in a well-ventilated area and use protective table covers, as the paint can be a little messy.
Instructions
1. Prepare your ornaments
Begin by removing the tops from each ornament. Set them aside somewhere safe so they don’t get splattered during the dipping process.
2. Fill the container
Use a disposable bowl or bin that’s deep enough to submerge your ornaments. Fill it with clean water, leaving room at the top to avoid spills when dipping.
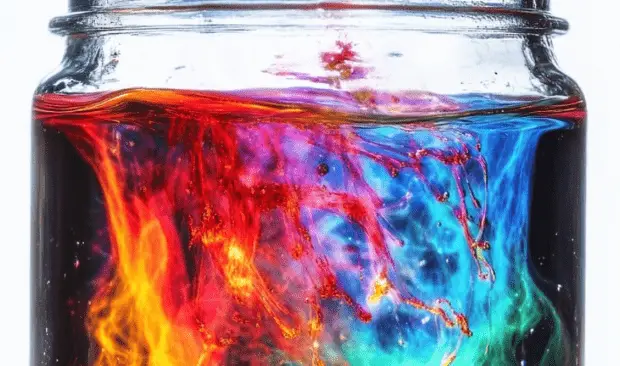
3. Add paint
Drop acrylic paint directly onto the surface of the water. Add several drops of different colors for a marbled effect. The paint will float, creating layers of swirling colors.
4. Swirl the paint
Use a toothpick or skewer to gently swirl the colors on the surface of the water. This step allows you to create custom patterns and textures that will transfer to the ornament during dipping.
5. Dip your ornament
Slowly dip the ornament into the water, twisting gently to cover the entire surface. As the ornament touches the paint, the swirling pattern will wrap around it.
6. Remove and dry
Once fully dipped, remove the ornament and place it on a stack of paper towels to dry. Let any excess water drip off and allow the ornament to dry completely before handling further.
7. Reassemble the ornaments
Once dry, replace the tops of the ornaments carefully.
8. Add hanging accessories
Thread string or attach hooks to each ornament, so they’re ready to hang on the tree, mantle, or anywhere else in your home.
9. Display your creations
Hang your custom hydro dipped ornaments on your Christmas tree, in window displays, or give them as handmade gifts to friends and loved ones.
Benefits of This Craft
Making hydro dipped ornaments offers more than just pretty results. It’s a craft that encourages hands-on creativity, mindfulness, and a fun way to engage with others during the holiday season. Some of the key benefits include:
- Developing fine motor skills and hand-eye coordination
- Encouraging artistic exploration through color mixing
- Providing a calm and engaging craft for children and adults alike
- Reducing holiday stress by focusing on creative expression
- Creating keepsakes that can be used and enjoyed for years
This activity is ideal for solo crafting, family weekends, classroom art lessons, or holiday parties. The joy of seeing each ornament transform into something unique is as rewarding as the finished product.
Tips
- Use room-temperature water to help paint spread more easily
- Choose paints with a thinner consistency; heavy or thick paints may sink
- Practice swirling on a test surface before dipping the final ornament
- Work quickly—acrylic paint dries fast once it hits the water
- Wear gloves if you want to avoid getting paint on your hands
If you’re working with kids, be sure to supervise closely during the paint pouring and dipping stages. You can even set up a mini drying station using a cardboard box and skewers to avoid handling the ornaments while wet.
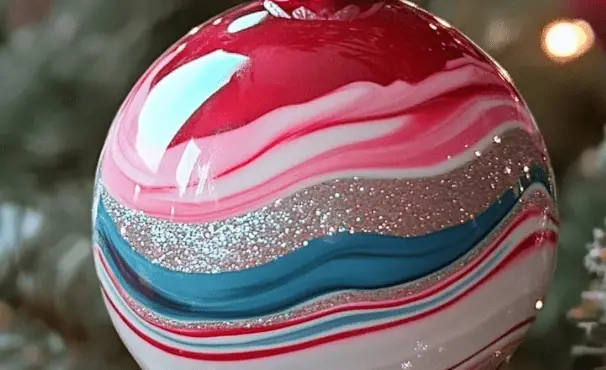
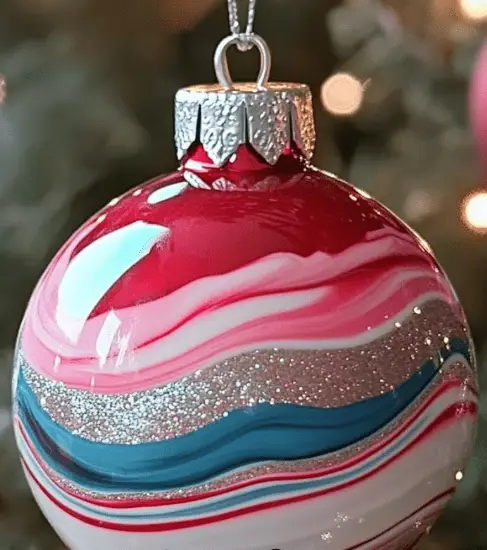
What Do Hydro Dipped Ornaments Look Like?
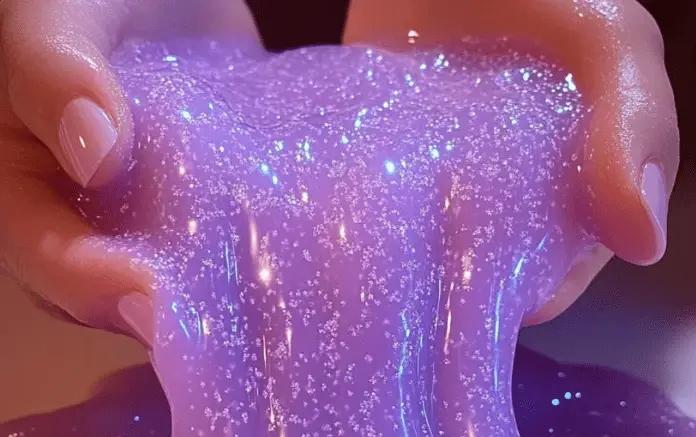
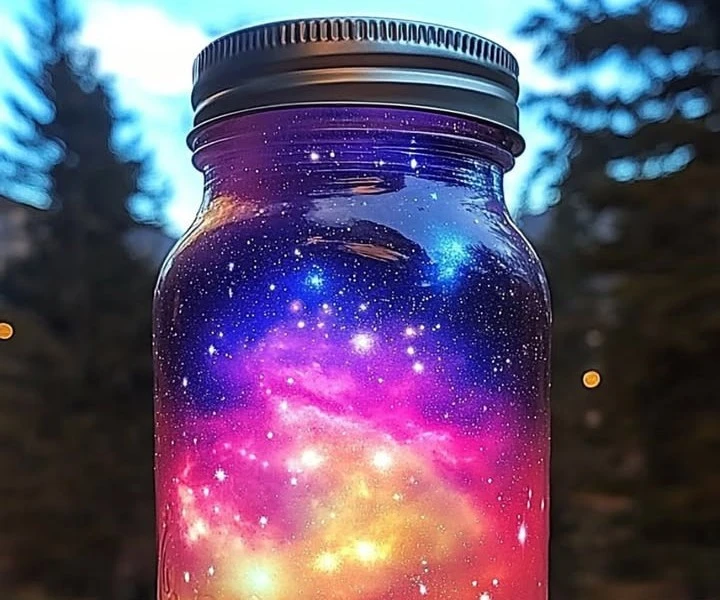
Hydro dipped ornaments are visually stunning, thanks to the unique swirling and marbling effect created by the paint floating on water. No two ornaments will ever look the same, making each piece a tiny, wearable work of art. Depending on the color choices and swirling technique, the finished ornaments may resemble abstract art, planet-like spheres, or elegant marbled glass.
When they catch the light on a Christmas tree, the layers of color shimmer and shine, adding dimension and personality to your holiday décor. Whether you go for bold and bright or muted and metallic, these ornaments make a statement.
How to Store
After the holiday season, it’s important to store your ornaments properly to preserve their design and avoid damage.
- Wrap each ornament individually in tissue paper or bubble wrap
- Place them in a sturdy container with dividers to prevent scratching
- Keep them in a cool, dry space away from direct sunlight
- Label your ornament box to make decorating easier next year
If you’ve made a set as gifts, consider packaging them in individual boxes with soft padding and a handwritten tag. It adds a thoughtful, handcrafted touch that recipients will love.
DIY Hydro Dipped Ornaments are a beautiful and personalized way to add flair to your holiday season. With just a few inexpensive materials and a bit of creativity, you can turn plain ornaments into dazzling decorations that reflect your style. This craft is easy enough for beginners and offers endless room for customization, making it perfect for crafters of all ages.
The joy of dipping, swirling, and seeing your final product emerge is incredibly satisfying. It’s a wonderful way to connect with loved ones, celebrate creativity, and build lasting holiday memories.
Looking for more festive and hands-on ideas to make this season extra special? Visit More DIY craft ideas to explore fun, easy projects that add a personal touch to every celebration.
FAQ
Can I use plastic ornaments instead of glass?
Yes, plastic ornaments are a great option, especially when crafting with kids. They’re lightweight, shatterproof, and hold paint well.
What type of paint works best?
Acrylic paint is ideal because it floats on water and dries quickly. Avoid oil-based paints or any that sink.
Can I reuse the water for multiple ornaments?
Yes, but the paint patterns may change with each use. Add more fresh paint as needed to keep the designs vivid.
How long does it take for the ornaments to dry?
It usually takes about 2 to 4 hours for the paint to dry completely, depending on humidity and room temperature.
Is it safe to hydro dip indoors?
Yes, just be sure to work in a well-ventilated space and protect your surfaces from paint splashes.