DIY Bouncy Balls – A Fun and Easy Science Craft for Kids!
Creating homemade bouncy balls is not just a fun craft—it’s an exciting and educational activity that lets kids explore basic science principles while making something they’ll love to play with. This simple project combines creativity, color mixing, and hands-on chemistry, resulting in a stretchy, bouncy toy that sparks curiosity and delight.
Perfect for rainy days, classroom experiments, or weekend fun at home, these DIY bouncy balls are made from common household materials and come together in minutes. Let’s dive into this engaging science-meets-craft adventure.
Ingredients
To make your own bouncy balls at home, you’ll need:
- 1 tablespoon borax (found in the laundry aisle)
- ½ cup warm water
- ½ tablespoon cornstarch
- 1 tablespoon white school glue
- A few drops of food coloring
These ingredients are safe with supervision and easy to find in most households or local stores. With just these five components, you’ll be creating vibrant, squishy, and bouncy creations in no time.
Instructions
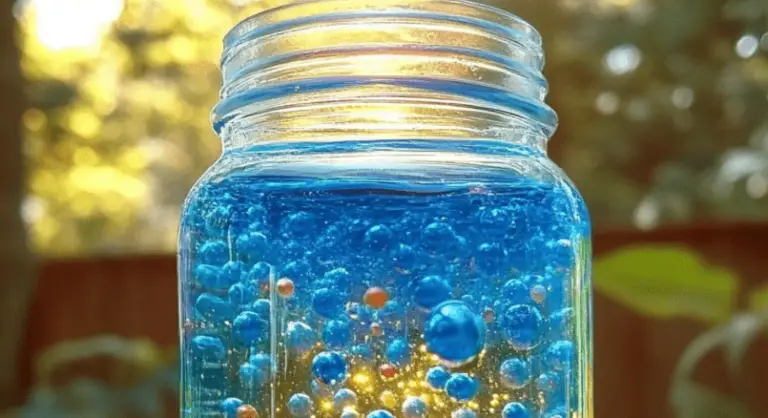
- In a cup, dissolve the borax completely in ½ cup of warm water. This will form the base solution that starts the chemical reaction.
- In a separate bowl, mix together the glue and cornstarch until smooth and fully blended.
- Add a few drops of food coloring to the glue mixture and stir well until the color is evenly distributed throughout.
- Slowly pour the colored glue mixture into the borax solution.
- Let it sit for about 30 seconds while the ingredients react and begin to solidify into a gel-like mass.
- Carefully remove the forming ball from the borax water and gently squish it with your hands.
- Roll it between your palms until it forms a smooth ball shape. As you continue to roll and handle it, the ball becomes firmer and bouncier.
- If the ball feels sticky, you can dip it back into the borax solution for a few seconds before continuing to roll.
Now your bouncy ball is ready to play with! You can bounce it, squish it, or make more in different colors for extra fun.
Benefits of This Craft
Making DIY bouncy balls is more than just a fun activity—it’s a multi-faceted learning experience. Here are some of the key benefits:
- Hands-on learning: This project is a great way to introduce kids to the basics of chemistry and polymers. Watching a liquid transform into a bouncy solid is both magical and educational.
- Creative expression: Kids can mix and match colors, experiment with swirls, or even layer shades for a tie-dye effect.
- Fine motor development: Rolling and shaping the ball helps improve dexterity and coordination in younger children.
- Safe and affordable: All the ingredients are inexpensive and non-toxic when handled properly, making it an accessible project for all families.
- Reusable and customizable: Each ball is unique, and they can be reshaped or re-colored for endless fun.
This combination of play and learning makes it a hit with both kids and adults.
Tips
To get the best results with your bouncy balls, keep these tips in mind:
- Use warm water to help the borax dissolve fully, ensuring a smoother reaction.
- Add food coloring slowly to avoid staining your hands—gloves can be helpful for little ones.
- Roll quickly after removing the mixture from the water, as the shaping helps set the texture.
- Don’t over-soak in borax once the ball has formed—this can make it too hard or crumbly.
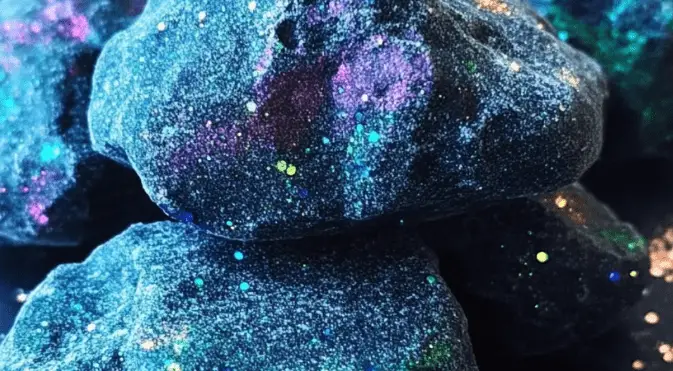
- Try glitter or glow powder for added visual fun, especially for night-time bouncing.
These small adjustments can elevate your craft from simple fun to standout creations.
What Does It Taste and Look Like?
Of course, these bouncy balls are not edible, but let’s describe their appearance and texture for those curious about the result.
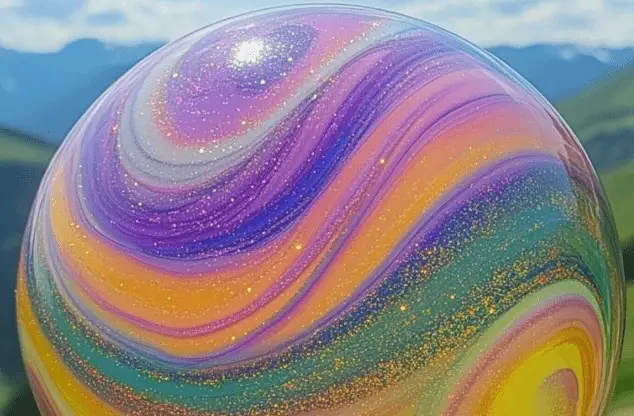
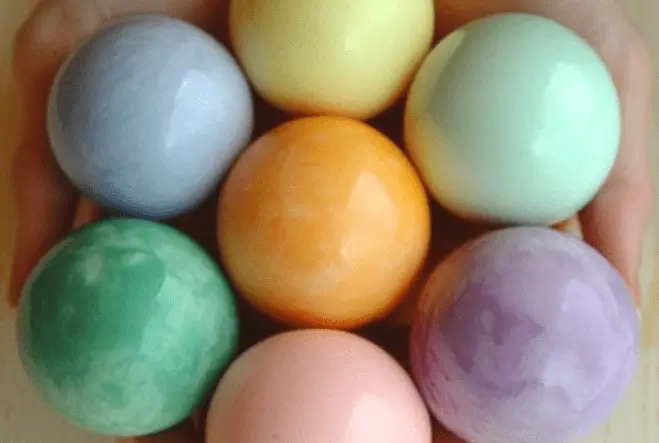
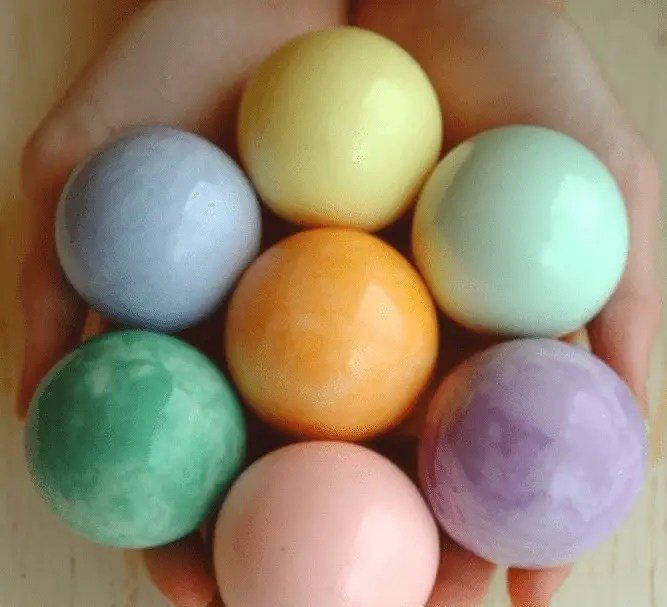
Once fully formed, the bouncy balls have a soft, rubbery feel. They’re smooth to the touch, and depending on how much they’ve been handled, they may have a slightly matte or glossy finish. The food coloring gives them a rich, vibrant hue—perfect for creating a rainbow collection. Some may look marbled, while others may turn out uniform in color.
The bounce is firm but not too rigid—they spring off hard surfaces with satisfying energy, much like a store-bought rubber ball. And if they start to flatten or lose shape, just roll them in your hands for a few seconds to get them back into ball form.
How to Store
To keep your homemade bouncy balls in good condition, storage is key:
- Place each ball in an airtight container or a small plastic zip bag to prevent them from drying out.
- Store them at room temperature, away from direct sunlight or heat sources, which can harden or crack the material.
- If the ball becomes sticky or loses shape, re-dip it briefly in the borax solution, then roll it again to refresh the texture.
- For longer-lasting bounce, avoid overuse on rough surfaces like concrete, which can cause wear.
With proper care, these bouncy balls can last for several days to a week, providing repeated entertainment and learning opportunities.
DIY bouncy balls offer the perfect blend of education and entertainment. Whether you’re a parent looking for a weekend activity, a teacher planning a science lesson, or a caregiver wanting to engage young minds, this project checks all the boxes.
It’s quick, inexpensive, and full of opportunities for customization and discovery. Plus, the satisfaction of making something that actually bounces is hard to beat.
Ready to explore more projects like this? Visit More DIY craft ideas to keep the creativity going with easy, engaging ideas your kids will love.
FAQ
Can I make bouncy balls without borax?
Borax is key to the chemical reaction in this recipe, but if you want a borax-free version, there are slime-based alternatives using baking soda and saline solution. However, the texture and bounce may differ.
Is borax safe for kids to use?
Yes, when used in small amounts with adult supervision, borax is generally safe. Be sure kids do not ingest it and wash hands after handling.
How long will my bouncy ball last?
If stored properly in an airtight container, your DIY ball should last several days. Re-roll it to maintain shape and bounce.
Why is my bouncy ball too sticky or too hard?
Stickiness usually means it needs more time in the borax solution. If it’s too hard, it might have stayed in too long. Adjust the soak time and rolling duration for better texture.
Can I make large bouncy balls?
This recipe works best for small palm-sized balls. Trying to scale it up may affect bounce and consistency. Instead, make several small ones in different colors.
Other Sources for More Inspiration
Looking for more science-meets-craft activities like this one? These sources are great places to explore:
Each offers a wide range of experiments and crafts suitable for various age levels and educational themes.