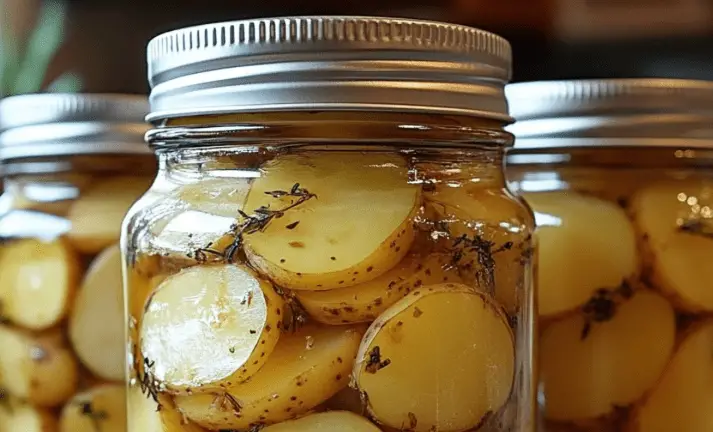
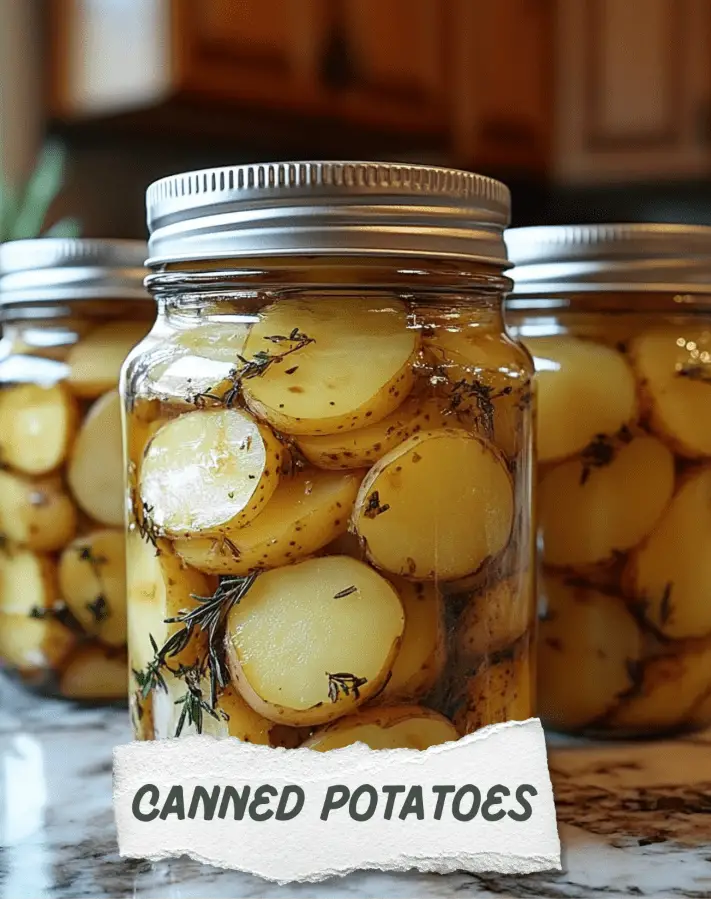
How to Make Homemade Canned Potatoes: A Long-Lasting Pantry Essential
How to Make Homemade Canned Potatoes: A Long-Lasting Pantry Essential
Canning your own potatoes is one of the most satisfying and practical crafts you can take on in the kitchen. It’s not only a method to preserve food but also a way to ensure you always have hearty, wholesome ingredients ready for any meal. Whether you’re preparing soups, stews, or breakfast hashes, having homemade canned potatoes in your pantry can save you time while delivering superior flavor and texture.
Unlike store-bought canned potatoes, which can taste bland or overly processed, homemade versions are fresh, customizable, and free from preservatives. This easy recipe walks you through the step-by-step process of pressure canning small to medium potatoes so you can enjoy your harvest—or grocery haul—all year long.
Table of Contents
Ingredients
To get started with this canning project, gather the following:
- 5 pounds small to medium potatoes
- Water for boiling
- Salt (optional)
This simple ingredient list keeps things straightforward and allows the natural taste of the potatoes to shine through. You can adjust the amount of salt or skip it entirely if you prefer a sodium-free option.
Instructions
- Clean the Potatoes
Begin by thoroughly scrubbing the potatoes under cool water to remove any dirt. If you prefer a smoother final texture or don’t like skins in your recipes, peel the potatoes at this stage. - Cut for Even Cooking (Optional)
If your potatoes vary in size or if you plan to use them in specific dishes later, cut them into uniform pieces. This step ensures they boil and process evenly. - Boil the Potatoes
Place the potatoes into a large pot and cover them with water. Bring the pot to a boil and allow the potatoes to cook for about 10 minutes. This partial cooking softens them slightly, which is essential for the canning process. - Sterilize Jars and Lids
While the potatoes are boiling, prepare your canning equipment. Sterilize your jars and lids in a separate pot of boiling water for several minutes to prevent bacterial contamination. - Pack the Jars
After boiling, drain the potatoes and carefully pack them into the hot, sterilized jars. Be sure to leave about 1 inch of headspace at the top of each jar. - Add Salt (Optional)
For added flavor, sprinkle 1 teaspoon of salt per quart jar. This step is optional but recommended for taste and preservation. - Add Boiling Water
Fill each jar with fresh boiling water, again leaving 1 inch of headspace. This helps maintain proper pressure and sealing during the canning process. - Remove Air Bubbles
To eliminate trapped air, tap the jars gently or slide a non-metallic utensil along the inside edges. - Clean and Seal
Wipe the rims of each jar with a clean, damp cloth. Place the sterilized lids on top and secure them with rings until just fingertip-tight. - Pressure Canning
Place the jars into your pressure canner and process at 10 pounds of pressure. For quart jars, process for 35 minutes. For pint jars, process for 30 minutes. - Cool and Rest
Once the time is complete, turn off the heat and allow the canner to depressurize naturally. Do not open it until the pressure has fully released. - Store Your Jars
Remove the jars carefully and place them on a towel-lined surface. Let them cool undisturbed for 24 hours. After they’ve cooled, check the seals, label each jar with the date, and store them in a cool, dark place.
Benefits of This Craft
Making homemade canned potatoes has both culinary and practical benefits:
- Shelf-Stable Meals: You’ll always have a hearty ingredient ready, cutting down on prep time for weeknight meals.
- Waste Reduction: Perfect for preserving large potato hauls before they spoil.
- Budget-Friendly: Buying potatoes in bulk and canning them yourself can save significant money over time.
- Flavor Control: You control what goes into each jar—no preservatives, additives, or unwanted flavors.
- Emergency Preparedness: Having ready-to-eat potatoes in your pantry is great for power outages, camping, or emergencies.
Tips
- Choose Firm, Waxy Potatoes: Varieties like Yukon Gold or red potatoes hold up well during the canning process without becoming mushy.
- Use the Right Equipment: A pressure canner is essential for safely preserving low-acid foods like potatoes. Do not attempt this recipe with a water bath canner.
- Test Seals: After the jars have cooled, press the center of each lid. If it doesn’t pop back, the jar is sealed properly.
- Label Your Jars: Always include the date and contents. This makes pantry organization much easier and ensures you use older jars first.
- Experiment Later: Once you’re confident with the basics, you can add herbs or spices to your jars for different flavor profiles.
What Taste Look Like?
Homemade canned potatoes have a soft yet firm texture that’s ideal for most recipes. Unlike commercial canned potatoes, which can taste tinny or overly starchy, these preserve the fresh, earthy flavor of real potatoes. When opened and reheated, they maintain their structure well and can be sautéed, baked, or mashed with ease. Whether you’re making a quick potato salad or adding them to a hearty stew, these canned potatoes blend beautifully without losing their taste or texture.
How to Store
Proper storage is key to long-lasting canned potatoes:
- Cool, Dark, and Dry: Store your sealed jars in a cool, dark place like a basement or pantry. Avoid areas with direct sunlight or extreme temperature fluctuations.
- Use Within a Year: While home-canned goods can last longer, it’s best to use them within a year for optimal taste and quality.
- Check Before Use: Always inspect jars before opening. If a jar’s seal is broken or contents appear cloudy or smell off, discard it immediately.
Homemade canned potatoes are a practical and satisfying way to preserve one of the most versatile ingredients in your kitchen. Whether you’re meal prepping for busy weeks, building your emergency pantry, or simply enjoying the benefits of home canning, this recipe offers a reliable method for keeping delicious potatoes ready to go whenever you need them.
From boiling to pressure canning, the process is straightforward and rewarding. You’ll have jars of flavorful potatoes that can be used in everything from quick dinners to comforting casseroles. Once you get started, you may find yourself making several batches to keep up with how useful they are in your daily cooking.
Looking for more ideas to keep your creativity flowing? Check out More DIY craft ideas and explore a variety of homemade projects to try in your kitchen and beyond.
Want even more inspiration? Head over to Pinterest and search for “homemade canned potatoes” to see how others are using this method, decorating their pantry shelves, or adding herbs and flavors to their preserved spuds.
FAQ
Can I use large potatoes instead of small ones?
Yes, but be sure to cut them into uniform pieces to ensure even cooking and safe canning.
Do I need to peel the potatoes?
Peeling is optional. Leaving the skin on adds fiber and a rustic texture, but peeled potatoes have a smoother finish.
Can I use a water bath canner instead of a pressure canner?
No. Potatoes are a low-acid food and must be pressure canned to ensure food safety.
What kind of salt should I use?
Canning salt is recommended because it doesn’t contain additives that can cloud the water. However, kosher salt can also work if you don’t mind a slightly different appearance.
Can I add herbs or garlic to the jars?
Yes, but use caution. Only add shelf-stable ingredients and always follow tested canning recipes if you want to include additional flavors.