Ocean Slime DIY: A Sparkly Craft Adventure for Kids
Creating Ocean Slime is a fun, safe, and hands-on activity that offers hours of entertainment and sensory exploration. Whether you’re organizing a weekend craft session or looking for an educational play idea, this glittery blue slime brings the magic of the sea into your home. Perfect for children and parents alike, this craft not only entertains but also introduces simple science concepts through play.
This guide walks you through how to make Ocean Slime at home using a few easy-to-find ingredients. Plus, you’ll discover tips, storage advice, and answers to common questions to ensure your slime-making experience is a success from start to finish.
Table of Contents
Ingredients
- 2 bottles of Elmer’s blue glitter glue
or 12 ounces of white glue with blue food coloring - 1 teaspoon baking soda
- 1/2 cup of water
- 3 tablespoons of contact lens solution (must contain boric acid, like Renu Fresh)
- Optional: extra glitter
- Optional: under the sea figurines
Instructions
- Pour both bottles of Elmer’s blue glitter glue into a mixing bowl. If you’re using white glue instead, measure out 12 ounces, add a few drops of blue food coloring, and mix thoroughly until the color is evenly blended.
- Add 1 teaspoon of baking soda and stir until fully incorporated.
- Pour in 1/2 cup of water and stir again. This is the perfect time to add extra glitter if you want your slime to sparkle more.
- Slowly add the contact lens solution while stirring. It’s important that your solution contains boric acid—this ingredient is key to activating the slime. Keep mixing until the slime begins to form and pulls away from the sides of the bowl.
- Remove the slime from the bowl and knead it with your hands. If it feels sticky, add more contact lens solution, one teaspoon at a time. If it still sticks, rub a bit of lotion or baby oil onto your hands for a smoother texture.
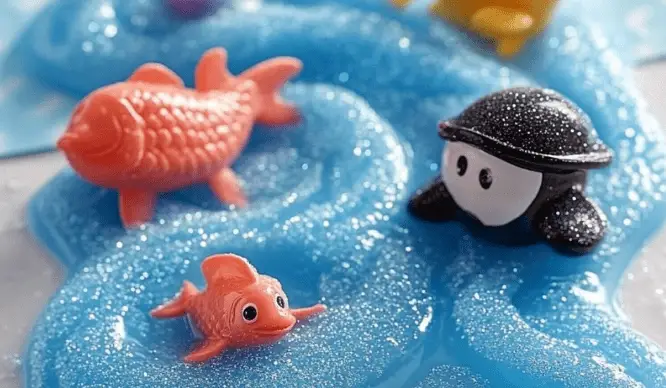
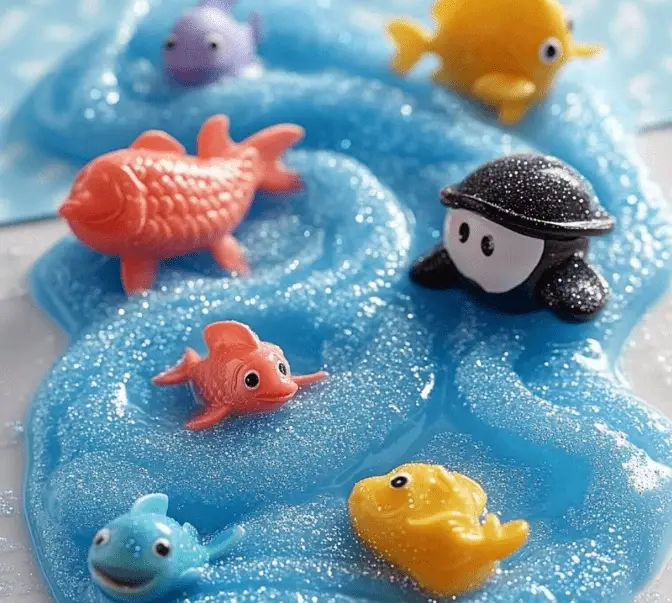
- For extra fun, press in a few small plastic sea creatures or themed charms to enhance the ocean vibe.
Benefits of This Craft
Making Ocean Slime at home offers more than just playtime—it’s a learning and development experience. Here are some key benefits:
- Sensory stimulation: The texture, color, and stretchiness provide rich sensory feedback.
- Fine motor skills: Mixing and kneading help strengthen small hand muscles.
- Science learning: This slime recipe introduces children to basic chemistry concepts like chemical reactions and bonding.
- Creativity and imagination: Kids can customize their slime with colors, glitter, and toys, encouraging creative play.
- Stress relief: Squishing and playing with slime can be soothing, even for adults.
Tips
- Choose the right glue: Elmer’s brand glue is ideal because it’s safe and consistent in texture. Glitter glue adds sparkle without mess, but white glue with food coloring works just as well.
- Check your lens solution: Not all contact solutions will activate slime. Make sure it contains boric acid and sodium borate.
- Adjust texture: If your slime is too sticky, gradually add more lens solution. If it’s too firm, try adding a few drops of water.
- Protect surfaces: Slime can stick to fabric and carpet, so work on a smooth, washable surface.
- Add lotion for softness: A small amount of hand lotion can give your slime a soft, silky texture.
What Taste Looks Like?
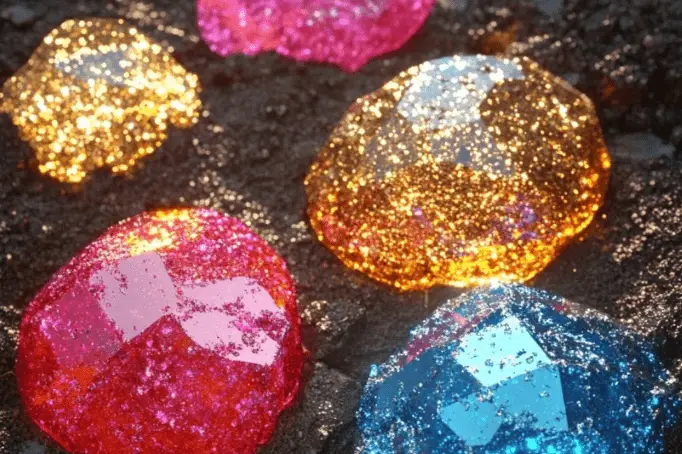
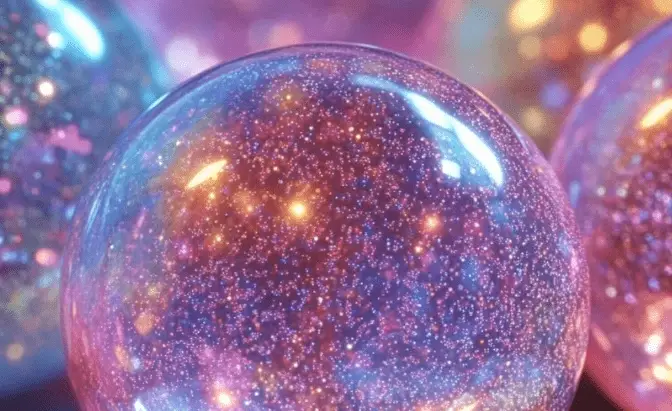
Although not edible, kids often wonder what slime tastes like—especially when it resembles something as appealing as sparkling ocean water. This Ocean Slime has a glossy, gel-like texture and a deep sea-blue hue that’s visually inviting. The glitter gives it a shimmering, underwater effect, and when combined with tiny sea creature toys, it looks like a miniature marine world.
Again, while it may look sweet or candy-like, always remind children that slime is not for eating.
How to Store
To keep your slime fresh and stretchy for days or even weeks:
- Store it in an airtight container or a resealable plastic bag.
- Keep the container at room temperature, away from direct sunlight or heat, which can cause the slime to harden.
- If it starts to dry out, you can try softening it with a few drops of warm water or a dab of lotion.
- If it becomes too sticky after several days, knead in a bit more contact solution.
Proper storage can extend the life of your slime and allow for multiple play sessions.
Ocean Slime is a simple yet exciting DIY project that blends creativity, science, and sensory play into one unforgettable activity. With just a few basic ingredients and optional add-ins like glitter and figurines, you can create a tactile, engaging experience that children will love. Whether you’re crafting with your own kids or planning a classroom activity, this project delivers hands-on fun with educational benefits.
For more inspiration and ideas like this, visit More DIY craft ideas.
FAQ
Can I make this slime without contact lens solution?
Yes, you can substitute contact solution with other activators like liquid starch or a borax-water mix, but make sure they’re safe for kids and used under supervision.
What if I don’t have glitter glue?
You can use plain white glue and add blue food coloring along with loose glitter. The effect will be similar.
Is this slime safe for toddlers?
While the ingredients are generally safe, always supervise young children and discourage putting slime in their mouths.
How long does homemade slime last?
When stored properly in an airtight container, slime can last from one to three weeks. If it dries out or becomes too sticky, you can revive it slightly, but eventually it may need to be discarded.
Can I add scent to the slime?
Yes, a drop or two of kid-safe essential oils can add a pleasant scent to the slime, making the sensory experience even richer.
Why is my slime too sticky or too hard?
Too sticky? Add a few drops of contact solution. Too hard? Soften with water or lotion. The key is small adjustments at a time.