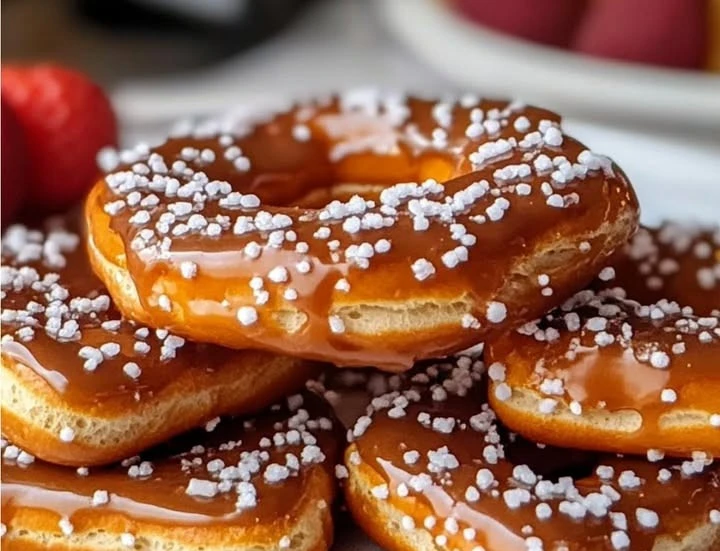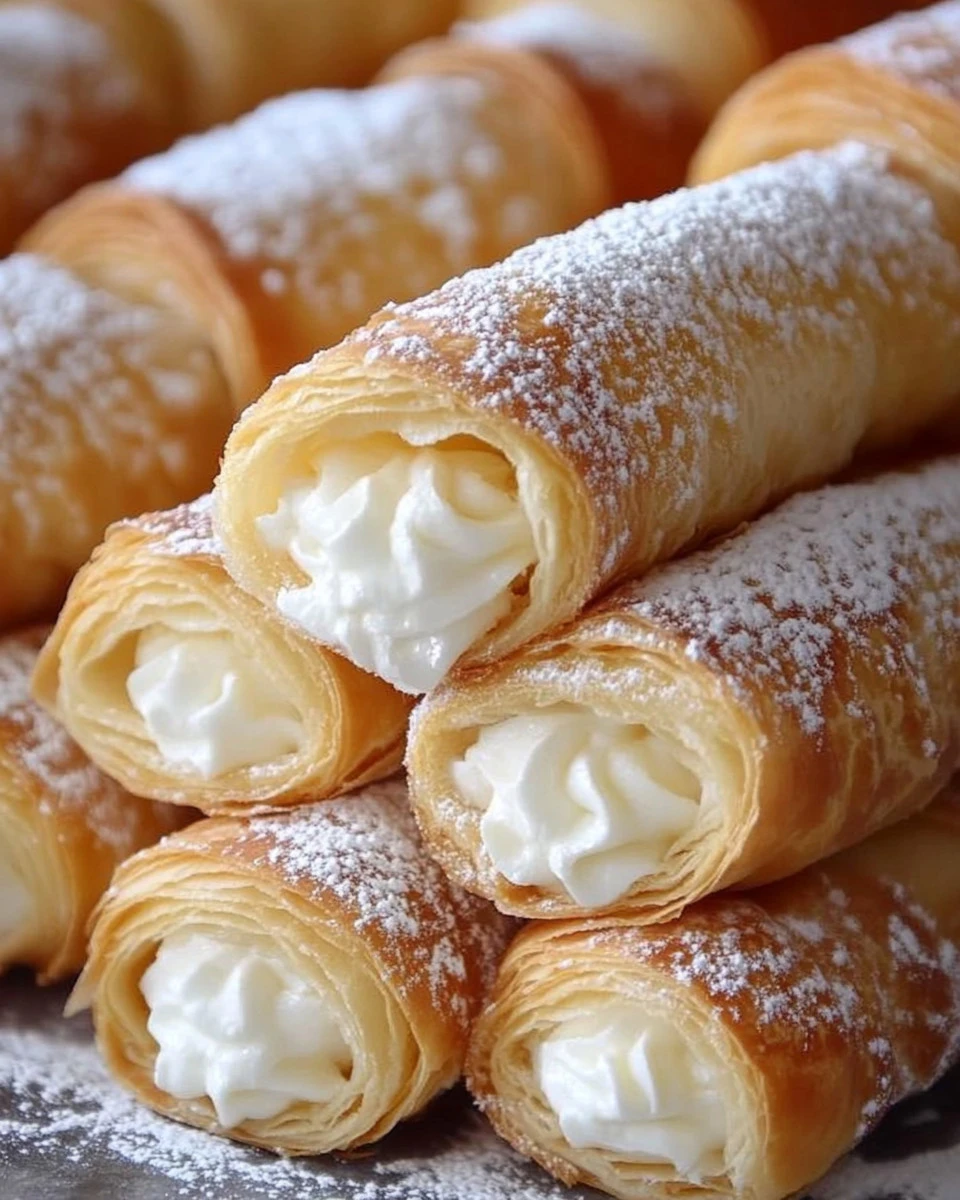
Cream horns are a delightful combination of crispy pastry and fluffy cream filling
Cream Horns: A Delightful Treat : when it comes to desserts that evoke sweet memories, cream horns hold a special place in my heart. There’s something magical about the crisp, flaky pastry wrapped around a swirl of creamy goodness. The first time I made cream horns, I was not prepared for the reaction they sparked at the dinner table. Mom took one bite and exclaimed, “This tastes just like something Grandma used to make.” The way my dad silently nodded, lost in the flavors as he savored every bite, made my heart swell with joy. In this article, we’ll explore how to prepare these delightful treats, along with tips, variations, and all the information you need to create this fabulous dessert.
Why You Will Love This Recipe
Cream horns are a delightful combination of crispy pastry and fluffy cream filling, making them the perfect dessert for any occasion. Whether you’re celebrating a special event, looking for a delicious treat to share with friends, or simply wanting to satisfy your sweet tooth, cream horns are a must-try. They offer a versatile base, allowing you to enjoy them plain, dusted with sugar, or filled with your favorite flavored cream. This recipe brings a sense of nostalgia, and each bite is a reminder of home-baked love.

How to Prepare Cream Horns
Making cream horns can be an enjoyable process, and with a little effort, you can create a dessert that will impress anyone. Below, I will guide you through the ingredients and instructions needed to prepare these tasty treats.
Ingredients:
- 1 sheet puff pastry, thawed
- 1 egg (for egg wash)
- 1⁄2 cup heavy whipping cream
- 2 tbsp powdered sugar
- 1⁄2 tsp vanilla extract
- Optional: powdered sugar for dusting
Instructions:
Preheat Oven: Start by preheating your oven to 400°F (200°C). This ensures that the cream horns will bake evenly and become golden brown.
Cut & Wrap Pastry: Take the sheet of thawed puff pastry and slice it into 1-inch strips. Each strip will be wrapped around the cream horn molds. Lightly grease the molds to prevent sticking. Begin wrapping the strips around the molds, overlapping slightly as you go, to create a nice spiral effect.
Egg Wash & Bake: In a small bowl, beat the egg and brush it over the wrapped pastry. This egg wash will give your cream horns a lovely golden color as they bake. Place the molds on a baking sheet and pop them into the preheated oven. Bake for about 12-15 minutes or until they are golden brown and flaky.
Cool Before Removing: After baking, remove them from the oven and allow the pastry to cool for a few minutes. Carefully remove the cream horns from the molds. Let them cool completely on a wire rack.
Make the Filling: In a bowl, combine the heavy whipping cream, powdered sugar, and vanilla extract. Use a hand mixer or stand mixer to whip the mixture until stiff peaks form. This will be the luscious filling for your cream horns.
Fill & Dust: Once the pastry shells are completely cool, use a piping bag or a simple spoon to fill them with the whipped cream mixture. After they are filled, you can dust them lightly with powdered sugar for an extra sweet touch.
How to Serve Cream Horns
Cream horns are best served fresh. You can arrange them on a beautiful platter and enjoy them as a dessert after dinner or during a coffee break. They also make for a charming addition to birthday parties, holidays, or tea gatherings. Feel free to pair them with coffee or tea for a delightful afternoon treat. For a fun twist, consider adding fruits like strawberries or raspberries on the side for added flavor and color.
How to Store Cream Horns
If you have leftover cream horns, it’s essential to store them properly to maintain their freshness. Here are some storage tips:
Store Unfilled Horns: If you have leftover unfilled pastry shells, keep them in an airtight container at room temperature. They will remain crispy for a couple of days.
Store Filled Horns: If you’ve already filled your cream horns, store them in the refrigerator to prevent the cream from spoiling. However, keep in mind that they may lose some crispiness over time. It’s best to fill the horns close to serving time if you want to maintain the crunch.
Tips for Preparing Cream Horns
Thaw Properly: Ensure that your puff pastry is fully thawed before starting. If it is still cold or hard, it will be challenging to work with.
Use Enough Egg Wash: The egg wash not only gives the pastry a nice golden color but also helps seal the pastry edges together. Don’t skip this step!
Avoid Over-Filling: When filling the horns, avoid over-filling with cream. It’s best to have just enough to make it delicious without spilling out.
Experiment with Flavors: While this recipe includes vanilla, feel free to get creative! You can use other flavor extracts like almond, chocolate, or even citrus flavors to enhance the filling.
Variations
Cream horns can be customized in various ways. Here are some enjoyable variations to consider:
Chocolate Cream Horns: Add cocoa powder or melted chocolate to the whipped cream for a delightful chocolate version of the classic treat.
Fruit-Filled Cream Horns: Mix in finely chopped fruits like strawberries or blueberries into your cream filling for a delicious fruit twist.
Nutty Cream Horns: Incorporate crushed nuts or nut butter into the cream mixture for an added crunch and nutty flavor.
Frequently Asked Questions
Can I use store-bought cream?
- Yes! If you’re short on time, you can use store-bought whipped cream instead of making your own.
How do I know when the pastry is done?
- The pastry should be golden brown and puffed up. If it looks golden and flaky, it’s likely ready to come out of the oven.
Can I frozen cream horns?
- Yes, you can freeze unfilled pastry shells. However, filled cream horns don’t freeze well because the cream will become watery once thawed.
Creating cream horns brings a sense of joy and nostalgia to anyone who takes a bite. With their simple ingredients and easy instructions, you’ll be able to whip up these delightful treats in no time! So gather your family around the table and share the love of homemade dessert – it’s a memory in the making.