Bouncy Egg Science Experiment: A Simple DIY Craft That Amazes Kids
If you’re looking for a hands-on science activity that’s both fascinating and easy to set up, the Bouncy Egg Science Experiment is the perfect choice. This simple kitchen experiment turns an ordinary egg into a rubbery, bounceable object—all through the power of chemistry. It’s a captivating project that blends visual transformation, sensory play, and scientific discovery in one exciting activity.
Ideal for children, families, and educators, this experiment teaches basic chemical reactions, patience, and observation skills in a fun and interactive way. Whether you’re running a homeschool lesson or just looking for a unique way to entertain curious kids, this DIY science craft is a fantastic way to bring learning to life.
Ingredients
To perform the Bouncy Egg Science Experiment, you’ll need just a few simple supplies:
- Raw eggs
- Clear cup or jar
- Distilled white vinegar
- Food coloring
- Bowl of water
All of these ingredients are inexpensive and easy to find in any household or grocery store. Using clear containers will enhance the visual experience, allowing kids to observe the transformation day by day.
Instructions
- Place the raw egg in a jar. Start by gently placing one raw egg into a clear jar or cup. Be careful not to crack the egg. The clear container allows you to easily monitor the changes over time.
- Add vinegar. Pour enough distilled white vinegar into the jar to completely submerge the egg. You’ll quickly notice bubbles forming on the surface of the eggshell—this is the chemical reaction beginning.
- Add food coloring. For added visual appeal, stir in a few generous drops of food coloring. This will dye the egg as it soaks, giving it a vibrant look once the shell has dissolved.
- Wait and observe. Let the egg sit in the vinegar mixture for 3 to 5 days. Check on it daily to observe the bubbling process as the vinegar reacts with the calcium carbonate in the eggshell. Over time, the shell will gradually dissolve.
- Transfer to water. After several days, when the shell appears to be fully gone, gently remove the egg and place it into a bowl of clean water.
- Remove residue. Softly rub the egg under water to remove any leftover shell pieces. What remains is a translucent, rubbery membrane that encases the yolk.
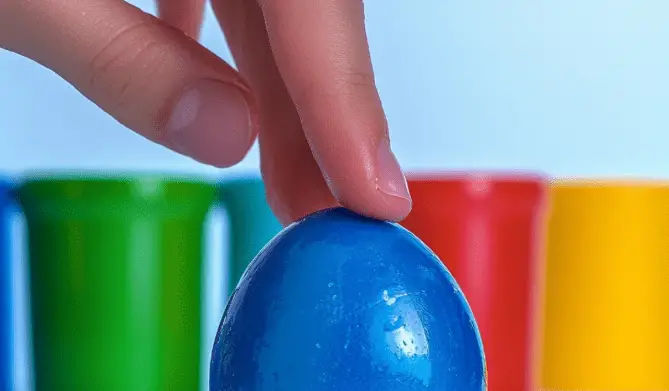
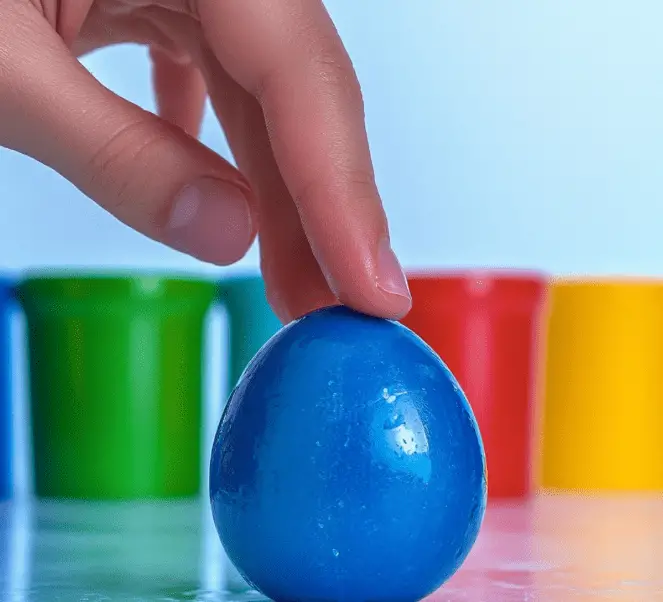
- Bounce the egg. Now for the fun part. Gently bounce your egg on a soft surface like a dish towel or counter. The egg will bounce slightly thanks to its new rubbery texture, but handle with care—it can still pop if dropped from too high.
This experiment is a wonderful way to get kids excited about chemistry while also creating a sensory-friendly object to touch and explore.
Benefits of This Craft
The Bouncy Egg Science Experiment offers multiple educational and developmental benefits:
- Demonstrates chemical reactions. Kids learn how acetic acid in vinegar reacts with the calcium carbonate shell, creating carbon dioxide gas and dissolving the shell.
- Encourages patience and observation. As the reaction takes several days, children practice monitoring changes and drawing conclusions over time.
- Teaches responsibility. Checking on the egg daily and handling it gently builds awareness and care for delicate processes.
- Inspires scientific curiosity. The transformation from a fragile egg to a bouncy membrane stimulates questions about biology and chemistry.
- Supports sensory exploration. The rubbery feel of the egg invites touch-based learning and comparison to a regular egg.
This project introduces core STEM concepts in an age-appropriate, interactive, and memorable way.
Tips
To make your Bouncy Egg Experiment more successful and fun, try these helpful tips:
- Use distilled white vinegar. Regular vinegar works too, but distilled vinegar has a higher concentration of acetic acid for better results.
- Try multiple eggs. Create a batch of eggs in different jars with different food coloring for variety and comparison.
- Use gloves if needed. Food coloring can stain hands, so gloves may be helpful when removing or washing the egg.
- Record observations. Encourage kids to keep a daily journal or take photos of the egg as it changes each day.
- Don’t bounce too high. The membrane is durable but not indestructible. Start with low drops to avoid messes and breakage.
Experiment with leaving the egg in vinegar for longer or shorter periods to see how it affects the texture and durability of the membrane.
What Does It Taste and Look Like?
While this is not an edible experiment, the visual and tactile changes are a big part of the experience. Initially, the egg looks like a typical raw egg. As the days pass, bubbles form on the surface and the shell begins to erode, eventually leaving behind a soft, smooth, and slightly translucent membrane.
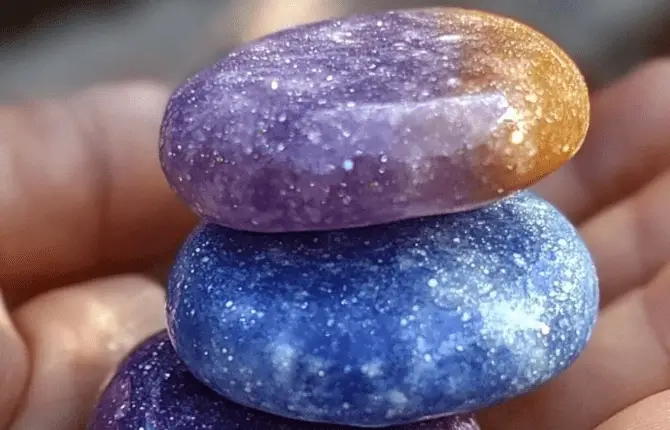
The final product is a wobbly, jelly-like egg that can be bounced gently. It may feel cool and slightly squishy in the hand, and if food coloring was added, the egg may appear vibrant in color. Inside, the yolk and white remain intact but are encased in a rubbery shell that’s unlike anything kids have handled before.
How to Store
Although the bouncy egg is meant for short-term play and exploration, you can store it for a day or two under certain conditions:
- Refrigerate if needed. If you want to keep the egg for another day, place it in a sealed container in the refrigerator.
- Store in clean water. Keeping the egg submerged in water can prevent it from drying out too quickly.
- Do not leave at room temperature for too long. The membrane is still permeable and the contents are raw, so it may begin to smell or spoil after a day or two.
- Dispose responsibly. When you’re done with the egg, discard it in the trash. Avoid popping it indoors to prevent messes.
The Bouncy Egg Science Experiment is a simple yet powerful way to engage children in the wonders of chemistry. It transforms an ordinary egg into a rubbery, bouncy object that sparks curiosity and excitement. With only a few household materials, this experiment delivers big results and offers rich learning opportunities through observation, touch, and interaction.
This activity is perfect for classrooms, homeschool settings, science fairs, or weekend crafts with kids. It not only teaches children about chemical reactions but also encourages mindfulness, patience, and discovery. Whether you’re looking to enrich a science unit or just share a fun afternoon project, this egg experiment is a great choice.
For more interactive crafts and science-based fun, explore More DIY craft ideas and discover creative ways to make learning exciting.
FAQ
What age is this activity best for?
This experiment is suitable for children ages 5 and up, with adult supervision. Younger children may need help handling the egg gently.
Can I eat the egg afterward?
No. The egg has been altered by vinegar and is not safe to eat. This activity is for educational and play purposes only.
Why did my egg break?
If bounced too hard or left in vinegar too long, the membrane can weaken and rupture. Try using a soft towel and gentle pressure.
Does it work with hard-boiled eggs?
This experiment requires raw eggs. Hard-boiled eggs won’t produce the same rubbery membrane result.
How long should I leave the egg in vinegar?
Three to five days is typically enough. Once the shell is completely dissolved and the membrane is visible, you can move to the next step.