Bouncy Ghost Eggs: A Spooky Science Craft for Kids and Halloween Fun
Get ready to bring science to life with a creepy twist—Bouncy Ghost Eggs are the ultimate blend of spooky fun and hands-on learning. This easy and safe kitchen craft transforms everyday eggs into ghostly, rubbery orbs that bounce (gently!) and glow with eerie fascination. Ideal for Halloween activities, rainy day boredom busters, or classroom science demos, this simple experiment is a crowd-pleaser for curious kids and adults alike.
Whether you’re a parent looking to create unforgettable memories or a teacher looking for a classroom science project, Bouncy Ghost Eggs offer a unique, budget-friendly, and educational experience that’s as fun to make as it is to observe.
Table of Contents
Ingredients
The following ingredients are all you need to get started. Stick to the list as it’s been tested to achieve the best results:
- 4 raw eggs (white shells work best for visual effect)
- 2 cups white vinegar (enough to fully cover the eggs)
- Food coloring (optional for fun visual effects)
- A spoon for gentle handling
Instructions
- Carefully place the raw eggs into a large glass or jar.
- Pour white vinegar over the eggs until they are completely submerged.
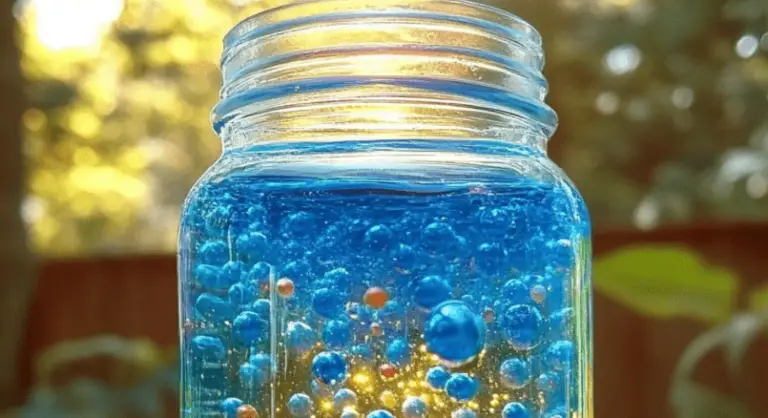
- Optional: Add a few drops of food coloring to the vinegar for a spooky pop of color.
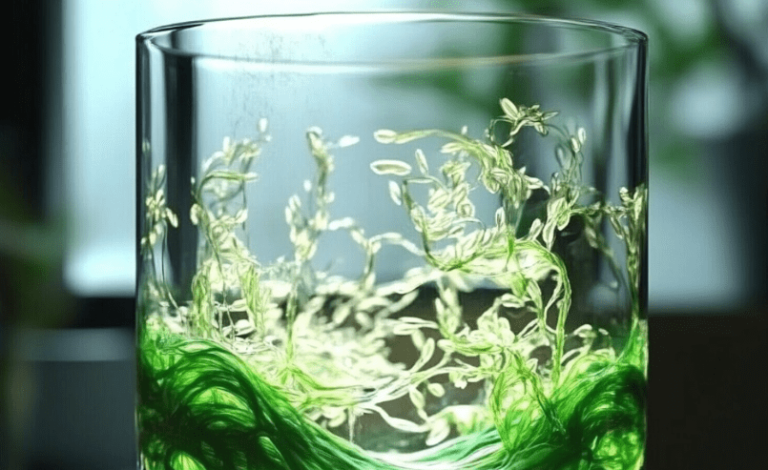
- Let the eggs sit undisturbed for 24 to 48 hours. During this time, you’ll see bubbles forming on the shells as the vinegar reacts with the calcium carbonate!
- After 24–48 hours, use a spoon to gently remove the eggs.
- Rinse the eggs under cool water and gently rub them to remove any remaining shell.
In the end, what you’re left with are translucent, bouncy eggs that seem like they’re made of rubber—perfect for Halloween-themed fun or a hands-on science lesson.
Benefits of This Craft
Bouncy Ghost Eggs go far beyond simple entertainment. They offer several developmental and educational benefits:
Hands-on Science Learning
Kids get to witness a real-time chemical reaction between vinegar (acetic acid) and eggshells (calcium carbonate), which forms carbon dioxide and dissolves the shell.
Sensory Exploration
The rubbery texture of the egg without its shell stimulates the sense of touch, perfect for sensory-based learning.
STEM Education Support
This activity introduces kids to basic principles of chemistry and biology in an accessible and engaging way.
Boosts Curiosity
Watching an ordinary egg transform into a ghostly, glowing object keeps children engaged and encourages further inquiry.
Safe and Budget-Friendly
Using ingredients you likely already have at home, this project is both economical and safe for children under supervision.
Tips
For best results, follow these practical tips when crafting your Bouncy Ghost Eggs:
- Use white eggs for the best visual contrast, especially if adding food coloring.
- Let the eggs soak for the full 48 hours if possible; this ensures complete shell dissolution and better bounce.
- Avoid shaking or stirring the eggs while they sit in vinegar—they’re very fragile during this time.
- When rinsing, do it gently. Rubbing too hard can puncture the thin membrane.
- Want to go extra spooky? Use green, purple, or black food coloring for a Halloween-ready display.
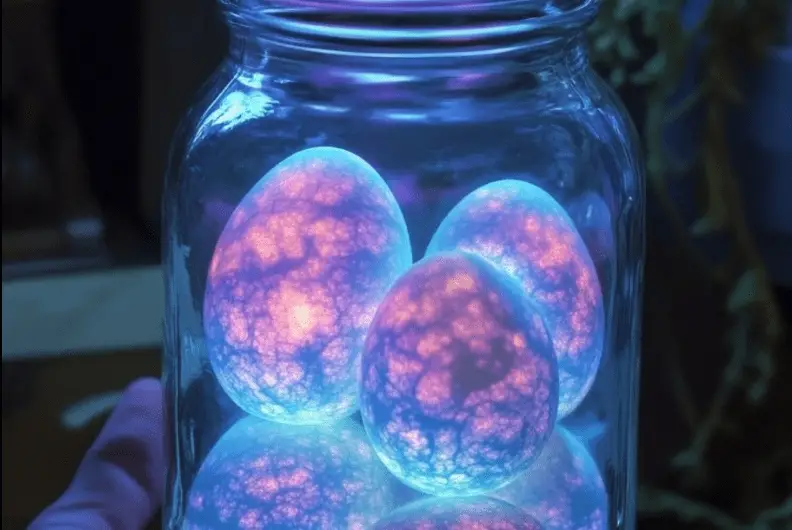
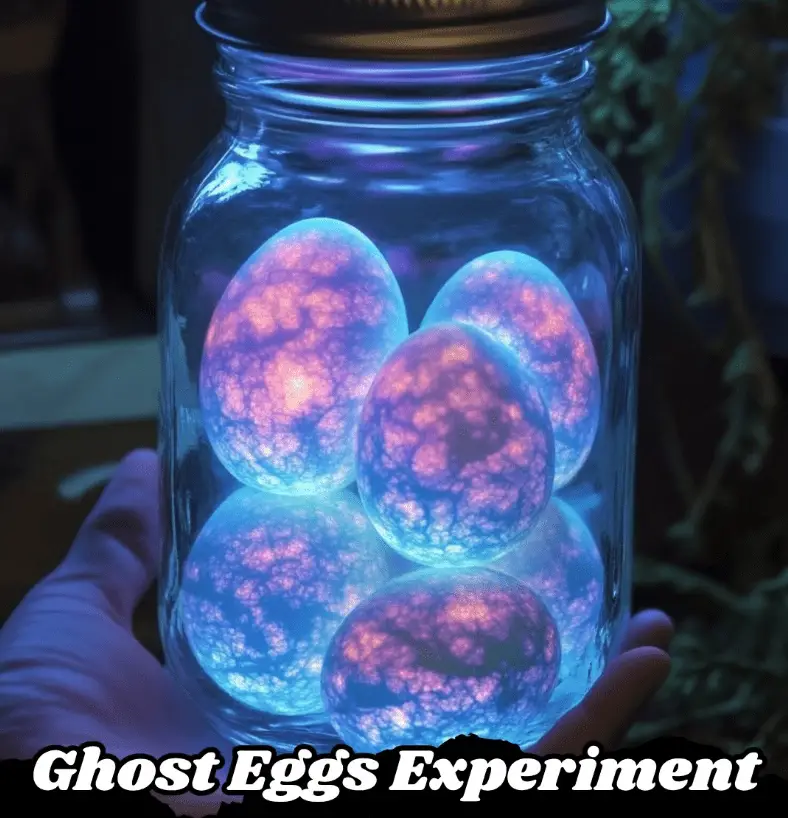
What Does It Feel and Look Like?
Once the shell is fully dissolved, you’ll be amazed by the transformation. The eggs take on a translucent, jelly-like appearance and feel surprisingly firm but bouncy to the touch. They glow slightly under certain lighting, especially if colored vinegar was used. The texture is rubbery and smooth, like a stress ball made of gelatin. Kids often compare them to slime or water balloons.
When bounced gently from a low height (a few inches), the eggs will rebound slightly. However, they can burst if dropped too hard—so always bounce with caution.
How to Store
These bouncy ghost eggs are not made to last forever, but they can be stored for short-term fun:
- Keep them in an airtight container in the refrigerator for up to 3 days.
- Avoid exposing them to heat or sunlight as this may cause the inner egg to spoil or break down.
- If you’re using them as a Halloween display, try placing them in a clear jar with spooky lighting for an extra eerie effect.
- Discard if they start to smell or show signs of deterioration.
Bouncy Ghost Eggs are an exciting and educational way to get into the Halloween spirit or just explore science in a hands-on, creative manner. They’re easy to make, low-cost, and safe when handled with care. This DIY craft not only delivers fun but also encourages curiosity, experimentation, and learning in a playful environment.
If you’re looking to expand your collection of creative home projects, don’t miss out on the More DIY craft ideas. From seasonal fun to year-round science activities, there’s always something new to explore and try with your family.
FAQ
Can I use brown eggs instead of white?
Yes, but white eggs show the color change and transformation more vividly, especially if you add food coloring.
What happens if I leave the eggs in vinegar too long?
If left too long (over 72 hours), the membrane might weaken, making the egg more likely to burst or spoil.
Can I bounce the eggs like a ball?
Only gently from a low height. These are still raw eggs inside a thin membrane and will break if dropped too high.
Is this safe for young kids?
Yes, with adult supervision. Make sure kids understand not to squeeze too hard or put the eggs in their mouths.
Can I eat the ghost eggs?
No. These are for craft and science purposes only and are not safe for consumption.
Can I reuse the vinegar?
It’s best to use fresh vinegar for each batch to ensure a strong chemical reaction and avoid contamination.
Bouncy Ghost Eggs: A Spooky Science Craft for Kids and Halloween Fun
- Total Time: 24–48 hours
- Yield: 4 bouncy eggs 1x
Description
A fun, hands-on science activity that transforms regular eggs into squishy, translucent ‘rubber’ eggs using simple kitchen ingredients.
Ingredients
- 4 raw eggs (white shells work best)
- 2 cups white vinegar (enough to cover eggs)
- Food coloring (optional)
- Spoon for gentle handling
Instructions
- Place raw eggs carefully into a large glass or jar.
- Pour vinegar over the eggs until fully submerged.
- (Optional) Add food coloring to the vinegar for a fun effect.
- Let the eggs sit undisturbed for 24–48 hours. Bubbles will form as the shell dissolves.
- After the wait, gently remove the eggs with a spoon.
- Rinse eggs under cool water and rub gently to remove the remaining shell.
- Admire your bouncy, translucent eggs—perfect for spooky fun or science lessons!
Notes
White-shelled eggs give the best translucent effect. Handle gently—these are still raw inside and can burst.
- Prep Time: 5 minutes
- Cook Time: 0 minutes
- Category: Science Activity
- Method: Soaking
- Cuisine: N/A
Nutrition
- Serving Size: N/A
- Calories: 0
- Sugar: 0g
- Sodium: 0mg
- Fat: 0g
- Saturated Fat: 0g
- Unsaturated Fat: 0g
- Trans Fat: 0g
- Carbohydrates: 0g
- Fiber: 0g
- Protein: 0g
- Cholesterol: 0mg
Keywords: bouncy egg, vinegar egg experiment, science for kids, Halloween egg activity, rubber egg experiment