DIY Dinosaur Fossil Rocks: A Prehistoric Craft That Brings Science to Life
If your child is fascinated by dinosaurs, fossils, and ancient worlds, this hands-on project is a perfect match. DIY Dinosaur Fossil Rocks combine creativity, sensory exploration, and imaginative play to transform ordinary craft time into a full-on paleontology adventure. With just a few simple household ingredients, you can create realistic-looking rocks that hide plastic dinosaurs or fossil molds inside. Children will love the process of creating and excavating their own prehistoric finds, and adults will appreciate the educational value tucked into every step.
This craft is a fantastic choice for homeschooling activities, birthday party entertainment, classroom science projects, or just a rainy-day exploration. It’s easy to customize, incredibly budget-friendly, and best of all, it turns learning into play.
Looking for more ways to inspire creativity through crafts and science? Be sure to check out More DIY craft ideas for projects that engage young minds through hands-on fun.
Ingredients
To make your own DIY dinosaur fossil rocks, you’ll need:
- 1 cup all-purpose flour
- 1 cup dry coffee grounds (make sure they’re completely dry)
- 1/2 cup table salt
- 1/2 cup fine sand (play sand or craft sand works best)
- Approximately 3/4 cup water
- Small plastic dinosaur toys or fossil molds
These materials are safe, non-toxic, and easy to source from your kitchen and craft bin.
Instructions
Step 1: Combine the Dry Ingredients
In a large mixing bowl, stir together the all-purpose flour, dry coffee grounds, table salt, and fine sand. Mix well to evenly distribute the textures and colors throughout the base material. The coffee grounds give your rocks a gritty, weathered appearance that resembles real sediment.
Step 2: Add the Water
Gradually pour in the water while mixing with a spoon or your hands. You’re aiming for a dough that’s firm enough to hold its shape but soft enough to mold. If it feels too dry and crumbly, add a small amount of water. If it gets too sticky, mix in a bit more flour.
Step 3: Shape the Fossil Rocks
Take a portion of the dough and flatten it slightly. Press a small plastic dinosaur or fossil mold into the center to create an imprint. Alternatively, you can completely wrap the dough around the toy to create a hidden surprise fossil. Shape the dough to resemble rough stones.
Step 4: Dry the Rocks
You have two options to harden your creations. Let them air-dry on a tray for 24 to 48 hours, flipping occasionally for even drying. Or, for quicker results, bake them in the oven at 200°F (about 93–95°C) for 30 minutes until firm.
Step 5: Excavation Time
Once fully dry, your fossil rocks are ready for discovery. Hand them to your young paleontologists with brushes, spoons, or small digging tools and let the excavation begin. Kids will love uncovering their fossilized treasures.
Benefits of This Craft
This activity is more than just fun—it’s full of developmental and educational value.
- Promotes Learning Through Play: Introduces children to basic geology and paleontology in a tactile, engaging way.
- Develops Fine Motor Skills: Mixing, shaping, and digging all strengthen hand muscles and coordination.
- Encourages Curiosity and Observation: Inspires kids to ask questions about dinosaurs, fossils, and Earth’s history.
- Supports Imaginative Thinking: Children create stories and scenarios as they explore their handmade fossils.
- Reusable and Eco-Friendly: Made from simple, natural ingredients you already have at home.
- Boosts Focus and Patience: The excavation process teaches children to work slowly and carefully, developing focus and persistence.
Tips
- Be sure to use dry coffee grounds. Damp grounds can lead to sticky dough that doesn’t hold its shape well.
- Add a bit of brown food coloring to enhance the rock-like appearance, though it’s optional.
- If wrapping the dough completely around the toy, make sure it’s thick enough to encase but not too thick to delay drying.
- Use parchment paper on the tray for easy cleanup during the drying process.
- Include brushes and magnifying glasses in your excavation kit to make the dig feel more authentic.
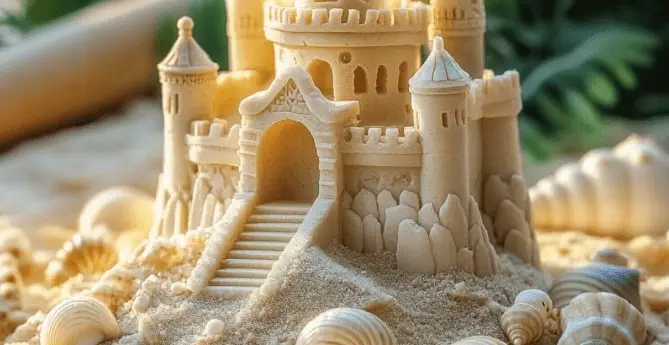
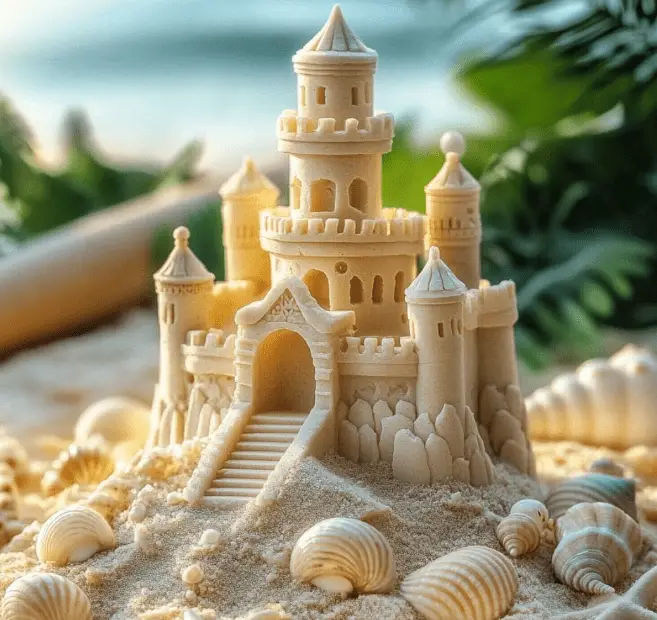
What Do They Look Like?
Once dried, these fossil rocks have the appearance of rugged, earth-toned stones. The mixture of sand and coffee grounds creates a realistic, uneven texture similar to compacted soil or sandstone. When split open or broken apart, the hidden dinosaur toy or fossil imprint emerges, delighting kids with the thrill of discovery.
Each rock is unique in shape and size. Some may show surface impressions of fossils, while others hide their prehistoric surprises entirely. The finished result is visually engaging and satisfyingly tactile.
How to Store
These fossil rocks are easy to store and reuse if handled with care.
- Before Drying: Unused dough can be stored in an airtight container in the refrigerator for up to 24 hours.
- After Drying: Once hardened, the rocks can be stored in a cardboard box or tray in a cool, dry place.
- Avoid Humid Environments: Moisture can soften the rocks over time, especially if stored in sealed plastic.
- Reuse or Recreate: After excavation, you can recycle the broken pieces into new dough by adding water, or start fresh for the next dig session.
DIY Dinosaur Fossil Rocks are a brilliant way to blend creativity, science, and fun into one kid-friendly project. Whether you’re teaching your kids about fossils or just looking for a fun and tactile way to keep them entertained, this craft delivers excitement and educational value. It’s low-cost, simple to set up, and full of discovery from beginning to end.
If you enjoyed this project, don’t forget to check out More DIY craft ideas where you’ll find a treasure trove of engaging, hands-on projects designed for curious kids and creative families.
FAQ
Q: Can I use regular sand from the beach instead of play sand?
A: It’s best to use clean, fine play sand or craft sand. Beach sand may contain salt or debris that affects the texture.
Q: What kind of dinosaurs work best for this project?
A: Small plastic dinosaur figurines or fossil molds work great. Make sure they are washable and non-toxic.
Q: Can kids eat or taste the fossil rocks?
A: No, this is not an edible craft. Ingredients are non-toxic but should not be ingested.
Q: Is this project suitable for preschoolers?
A: Yes, with supervision. Younger children may need help with shaping and excavating.
Q: How long does it take for the rocks to dry completely?
A: Air-drying takes 24 to 48 hours. Baking shortens the process to about 30 minutes.