DIY Glass Bead Suncatchers 2: A Simple and Stunning Craft to Brighten Your Home
Presentation
Sunlight streaming through a window, catching the vivid colors of melted glass beads—that’s the enchanting result of a DIY glass bead suncatcher. This easy and beautiful craft turns simple materials into vibrant hanging decorations that reflect light and color throughout your space. Whether you’re crafting for fun, creating unique gifts, or simply looking for a relaxing weekend activity, glass bead suncatchers deliver a perfect balance of ease and elegance.
This project is perfect for all ages and requires no advanced crafting skills. The end result is a radiant piece that adds color and personality to your window or garden. These suncatchers also make memorable, handcrafted gifts and can be customized to match seasonal décor, favorite color palettes, or holiday themes.
Table of Contents
Ingredients
To make these glowing suncatchers, you’ll need just a few basic materials:
- Clear glass baking dish (like a muffin tin or pie plate)
- Assorted translucent glass beads (flat-backed or round – not plastic)
- Optional: metal cookie cutters (for shaped suncatchers)
- Non-stick spray or parchment paper
- Drill with small bit (if you want to hang them)
- Fishing line, ribbon, or twine for hanging
Instructions
- Prep your dish or mold: Start by preheating your oven to 400°F (205°C). Give your dish a light coat of non-stick spray, or line it with parchment paper. If you’re using metal cookie cutters, place them on a parchment-lined baking tray.
- Arrange beads: Lay out your glass beads flat side down, tightly filling the bottom of your dish or cookie cutter. Use your creativity here—arrange the beads in a rainbow pattern, spirals, color gradients, or even abstract art. Avoid leaving gaps between beads for the best results.
- Bake: Place your dish in the oven and bake for 20–25 minutes. The beads will melt and fuse together into a solid form. Make sure the kitchen is well-ventilated during this step. Do not use plastic beads as they do not melt properly and can produce harmful fumes.
- Cool completely: Remove the dish from the oven and allow it to cool entirely before attempting to remove the suncatcher. This helps prevent cracking or warping.
- Add a hanging hole (optional): If you’d like to hang your suncatcher, carefully drill a small hole near the edge after it has cooled. This step is best done by an adult using safety precautions.
- Hang and enjoy: Thread ribbon, twine, or fishing line through the hole and hang your suncatcher in a sunny spot. Watch as it reflects sunlight and casts colorful shadows across the room.
Benefits of This Craft
Making DIY glass bead suncatchers offers several benefits beyond just their visual appeal. First, it’s a highly accessible project that requires minimal tools and inexpensive supplies, making it ideal for families, teachers, or beginner crafters.
Second, this project fosters creativity. Children and adults alike can experiment with colors, shapes, and patterns, developing their artistic confidence and fine motor skills in the process.
Additionally, crafting suncatchers is calming and therapeutic. The repetitive process of arranging beads and watching them transform in the oven can be a soothing activity that reduces stress and encourages mindfulness.
Lastly, these crafts offer an eco-friendly way to repurpose old or leftover glass beads and materials. Instead of tossing out unused beads, you can give them new life as part of a beautiful, functional decoration.
Tips
- Use only glass beads, as plastic ones will not melt properly and may release toxic fumes.
- Ensure beads are flat side down when arranging them to create an even surface when melted.
- Don’t rush the cooling step—this ensures your suncatcher stays intact and crack-free.
- Consider using different shaped molds like cookie cutters to create hearts, stars, or flowers.
- If you’re making a batch for holiday gifts, plan ahead and organize by color or theme to save time.
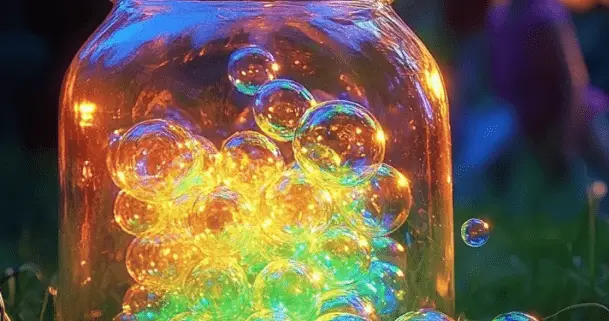
What Do They Look Like?
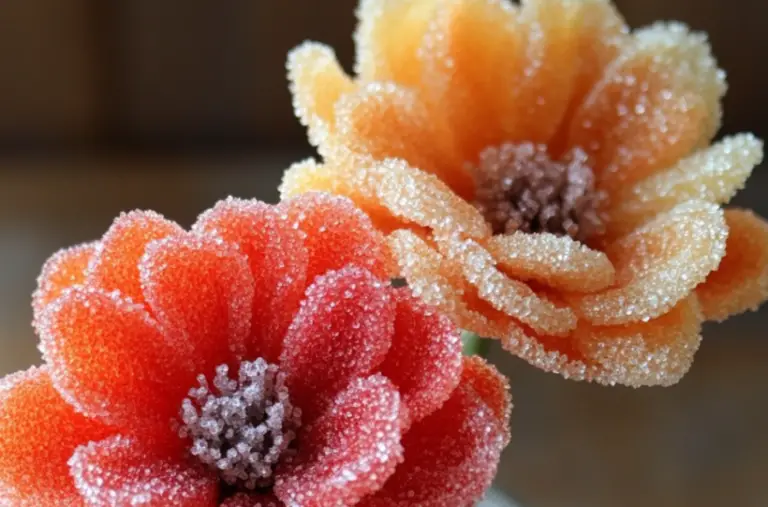
The final result is a smooth, glassy disc or custom shape that captures light beautifully. Depending on your bead selection, you can create vibrant rainbow effects, subtle pastels, or bold jewel tones. Each suncatcher becomes a miniature stained-glass window, refracting sunlight and casting playful glimmers across nearby surfaces.
Their tactile quality is satisfying too—cooled suncatchers feel sturdy and smooth. They’re light enough to hang with twine or ribbon, yet solid enough to resist breaking under normal indoor conditions. Whether circular or shaped with cookie cutters, every piece is a unique display of color and creativity.
How to Store
When not in use, store your suncatchers flat in a soft cloth or bubble wrap to protect them from scratches. Avoid stacking them directly against each other. If you’ve made seasonal sets, store them in labeled envelopes or felt pouches for easy access. Keep them in a dry, cool location out of direct sunlight to prevent fading or heat damage over time. Proper storage will keep your suncatchers looking beautiful for years.

DIY glass bead suncatchers are a creative, joyful craft that transforms everyday materials into luminous works of art. They brighten up any space and bring a touch of handmade charm to your home. Whether you’re looking for a weekend craft, a meaningful homemade gift, or a project to share with kids, this simple tutorial gives you everything you need to get started.
Want to keep your creative momentum going? Browse More DIY craft ideas to discover even more fun, imaginative projects you can make at home.
FAQ
Can I use silicone molds for this project?
It’s not recommended. Silicone molds may not withstand the oven temperature needed to melt the glass beads. Use glass or metal molds for best results.
Is it safe to drill a hole in the suncatcher?
Yes, if the piece is fully cooled and you use a small bit with light pressure. Always wear safety glasses and use caution when drilling.
How long does it take to complete one suncatcher?
From start to finish, the entire process typically takes under an hour, including cooling time.
Can I make these with children?
Yes, children can help with bead arrangement, but adults should handle the baking and drilling steps for safety.
Can I use opaque beads instead of translucent?
Translucent beads work best for suncatchers because they allow light to pass through. Opaque beads won’t create the same glowing effect.