DIY Suncatchers: Brighten Up Your Space with This Easy and Fun Craft
Creating DIY suncatchers is one of the most joyful and colorful activities you can enjoy at home. Whether you’re crafting with kids, decorating your window for spring or summer, or simply indulging in a relaxing afternoon project, this easy suncatcher craft brings beauty and light to any space. The magic of this craft lies in its simplicity and flexibility—you don’t need fancy materials or complex steps. With a bottle of clear glue, some vibrant coloring, and a little imagination, you can make art that reflects the sunlight in brilliant shades.
These handmade suncatchers add a personal touch to your decor and can also be customized for any season, holiday, or mood. Plus, they make wonderful gifts. Once finished, each piece becomes a small, mesmerizing panel of color and sparkle, turning everyday light into dancing patterns across your walls.
Table of Contents
Ingredients
- 1 bottle of clear school glue (Elmer’s Clear Glue is ideal)
- Liquid food coloring or liquid watercolors
- 1–2 plastic lids (from yogurt, margarine, or takeout containers) or clear acetate sheets
- Toothpicks or paintbrushes (for swirling)
- Optional: glitter, sequins, confetti, beads
- Optional: scissors (to shape or trim edges)
- String or suction hook (for hanging)
- Wax or parchment paper (to protect your workspace)
Instructions
- Prep the work area: Start by covering your workspace with wax paper or parchment. Place your plastic lid or acetate sheet on top to keep things tidy.
- Pour the suncatcher base: Squeeze a generous amount of clear glue into the lid or onto the acetate, aiming for about 1/4 inch thick.
- Add the colors: Drop in small amounts of your chosen food coloring or liquid watercolor. Begin with just a few drops.
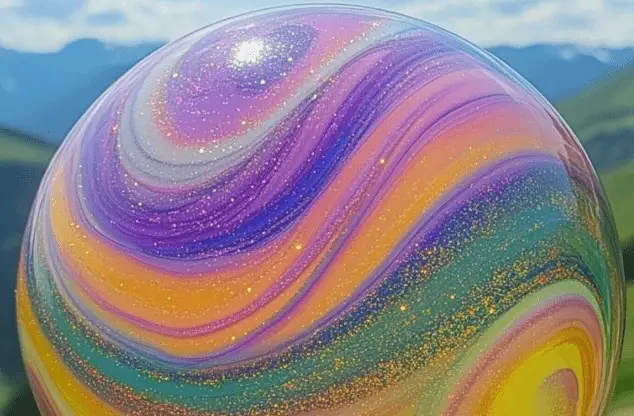
- Swirl it: Use a toothpick or paintbrush to create beautiful swirls in the colors. You can make spirals, rainbow effects, or abstract designs.
- Add sparkle (optional): For extra flair, sprinkle in some glitter, sequins, or tiny beads.
- Let it set: Allow your suncatcher to dry for 24–48 hours until it’s firm and peels away easily from the lid.
- Peel and hang: Carefully remove your dried suncatcher from the lid. If needed, punch a hole at the top, thread with string or ribbon, and hang it in a sunny window.
Benefits of This Craft
DIY suncatchers offer more than just a fun afternoon. They provide a variety of practical and emotional benefits:
- Creativity Boost: This project encourages children and adults alike to explore color combinations, patterns, and textures.
- Fine Motor Skills: Using droppers, toothpicks, or paintbrushes strengthens coordination, especially in younger crafters.
- Relaxation: The process of swirling colors and creating something beautiful from simple materials can be deeply calming.
- Budget-Friendly Decor: Suncatchers brighten up any window or glass door without the need to buy expensive decor items.
- Educational: This craft is an engaging way to discuss concepts like light refraction, transparency, and how sunlight interacts with different materials.
Tips
- Use clear glue instead of white glue for best light transmission.
- Avoid overloading the glue with too much food coloring—a little goes a long way.
- If your suncatcher is too thick, it may take longer to dry; be patient and avoid moving it.
- Place your drying suncatchers in a safe, dust-free area to keep them clean.
- For perfectly circular shapes, use sturdy plastic lids as your base.
What Taste Look Like?
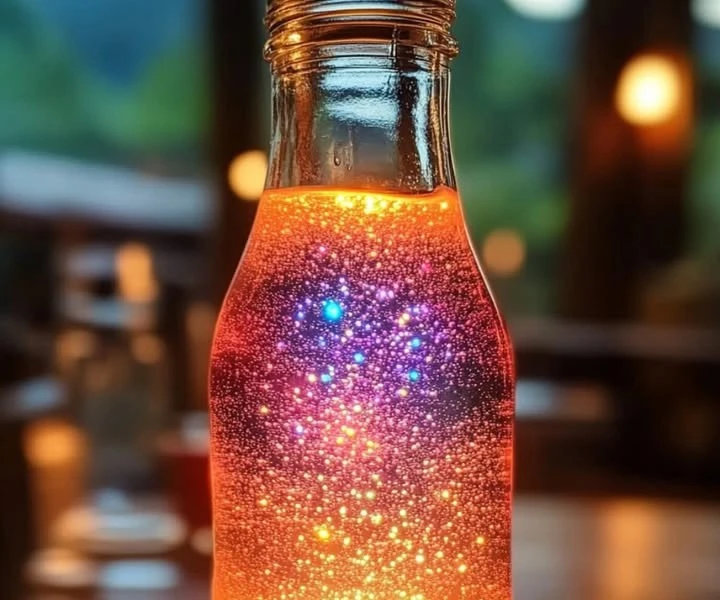
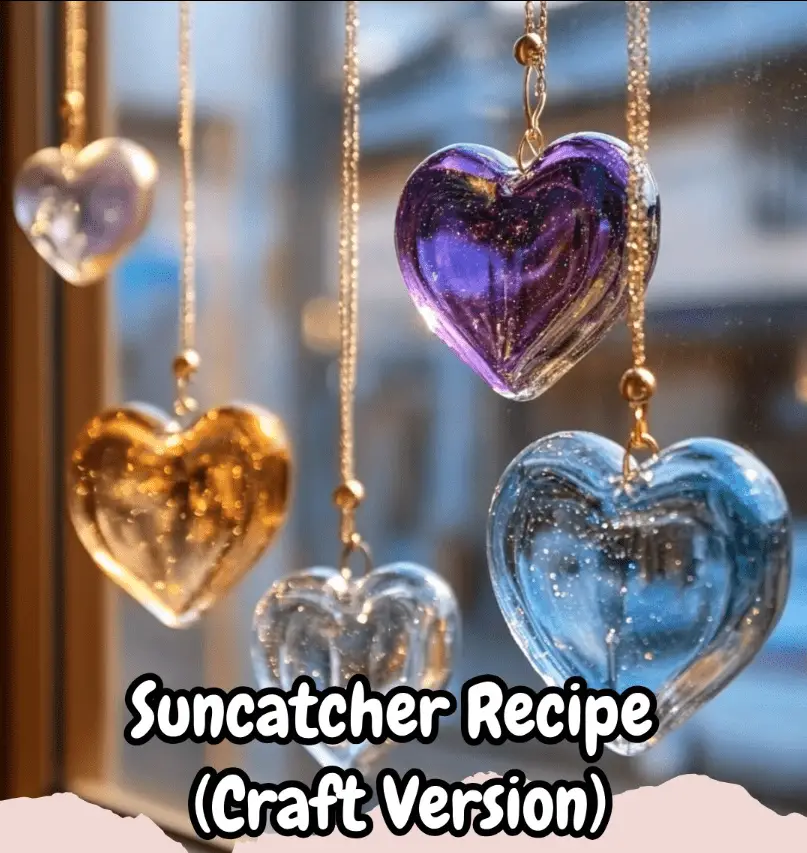
Although this isn’t an edible craft, the appearance of the final product is vibrant and delightful, almost candy-like in its glossy finish. Finished suncatchers often resemble stained glass or colorful hard candy. When hung in sunlight, they cast beautiful, multicolored reflections that add warmth and charm to your home. Some suncatchers will have soft pastel tones while others may be vivid and intense depending on your choice of coloring and patterns.
How to Store
Once your suncatchers are dry and hardened, store them flat in a dry area if you’re not ready to hang them. You can layer them between sheets of wax paper to prevent scratching. Avoid exposure to moisture or extreme heat as it can affect their shape and durability. If you’d like to store them seasonally, consider placing them in a labeled envelope or plastic folder to keep them organized and protected until the next sunny season.
DIY suncatchers are a simple yet impactful way to add art and light to your surroundings. With minimal supplies and maximum fun, they’re a wonderful project for crafters of all ages. From their whimsical swirls to their shimmering sparkle, suncatchers can brighten any window and any mood. Whether you’re looking to spend quality time with your kids, decorate your home on a budget, or find a mindful way to unwind, this craft is a great place to start.
For more inspiration and colorful projects, check out More DIY craft ideas. Pinterest also offers a wealth of visual ideas—search for “DIY glue suncatchers” to see creative variations, styles, and techniques shared by other crafters around the world.
FAQ
Can I use white glue instead of clear glue?
Clear glue is recommended for a translucent finish, but white glue can be used if transparency isn’t important.
How long do these suncatchers last?
When properly dried and stored, suncatchers can last for months or even years.
Can I hang these outdoors?
They can be hung outdoors in a sheltered area, but exposure to rain or moisture may damage them.
Are they safe for kids to make?
Yes, this is a kid-friendly craft, but younger children should be supervised during swirling and drying.
Can I make themed suncatchers?
Absolutely. Use specific colors and shapes to create suncatchers for holidays like Valentine’s Day, Halloween, or Christmas.