Homemade Rainbow Bouncy Balls: A Colorful DIY Activity for Kids
Looking for a vibrant and interactive craft that keeps kids engaged and teaches a bit of science along the way? These Homemade Rainbow Bouncy Balls are the perfect creative project. With simple ingredients and hands-on fun, this activity introduces children to basic chemical reactions while letting them shape and bounce their own rainbow-colored toys.
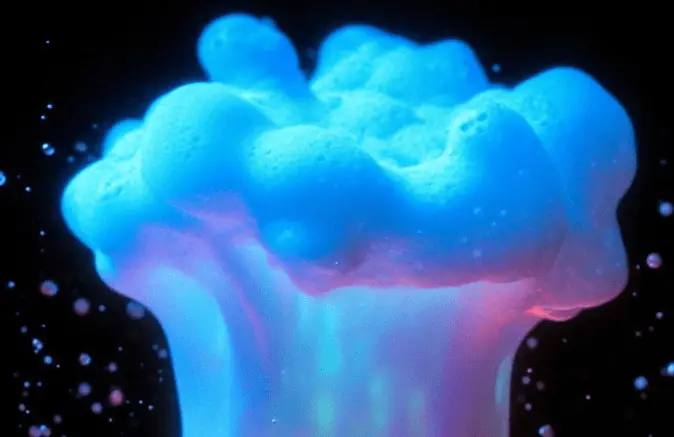
This is more than just a playtime project—it’s an exciting blend of art and science. By combining glue and borax, kids can see polymers form right before their eyes. Add in a splash of color, and suddenly you’ve got a bouncing ball that looks like it came straight from a rainbow.
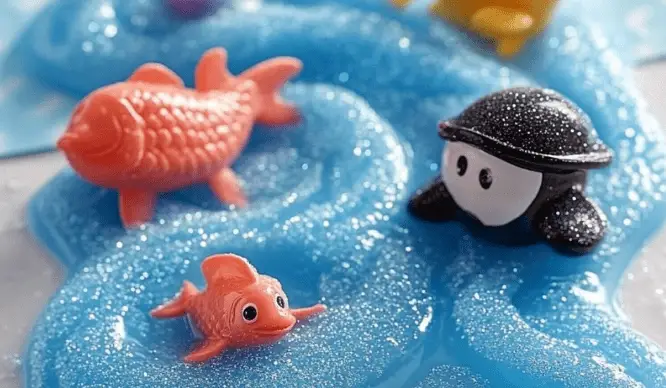
If your kids love sensory play or interactive experiments, be sure to explore our Colorful Slime Recipe for Kids for another messy-but-memorable DIY.
(Link: https://cookfastly.com/colorful-slime-recipe-for-kids/)
Table of Contents
Ingredients
To make your own rainbow bouncy balls at home, gather these materials:
- 1/2 cup warm water
- 1 tablespoon borax powder
- 1 to 2 tablespoons clear glue (such as Elmer’s)
- Food coloring or liquid watercolors (red, orange, yellow, green, blue, purple)
These ingredients are affordable, easy to find at craft or grocery stores, and safe when used with adult supervision.
Instructions
1. Make the Borax Solution
In a bowl, mix 1/2 cup of warm water with 1 tablespoon of borax powder. Stir thoroughly until the borax is completely dissolved.
2. Divide and Color
Pour the borax solution into several smaller cups—one for each color you plan to use. Add a few drops of food coloring or liquid watercolor to each cup and stir to mix.
3. Mix the Glue
In separate small containers, pour 1 to 2 teaspoons of clear glue for each color. Add an additional drop of matching food coloring to intensify the hues. Stir until the color is evenly distributed.
4. Combine Glue and Borax
Slowly pour each colored glue mixture into its corresponding cup of borax solution. You’ll notice the glue starts to solidify as it reacts with the borax.
5. Shape the Balls
Reach into each cup and remove the forming ball. Use your hands to squeeze and roll the mixture into a smooth, round ball. If it feels sticky, dip it back into the solution and keep shaping.
6. Combine Colors
Once you have multiple small bouncy balls in different colors, press them gently together to form one large rainbow bouncy ball. You can roll it between your palms to smooth the surface.
7. Let It Dry
Place your finished ball on a piece of parchment or wax paper and let it dry for a few hours. This helps improve bounce and durability.
Now you’re ready to bounce your colorful creation on smooth surfaces and enjoy the fun.
Benefits of This Craft
Making rainbow bouncy balls at home is more than just entertaining—it’s educational and sensory-rich:
- Teaches basic science: Children learn about polymers and chemical reactions.
- Enhances motor skills: Shaping and squeezing the balls improves hand strength and coordination.
- Sparks creativity: Kids choose their own colors and mix them however they like.
- Budget-friendly fun: All ingredients are inexpensive and reusable for other crafts.
- Perfect for parties or classrooms: This craft can be scaled easily for groups.
For another exciting chemistry-based craft, check out our DIY Fizzy Bath Bombs to keep the science fun going.
Tips
To get the best results when making your homemade bouncy balls, follow these tips:
- Use warm water: It helps the borax dissolve faster and more completely.
- Don’t overmix: Once the glue meets the borax, give it a quick stir, then remove the mixture to shape by hand.
- Limit food coloring: A little goes a long way, and too much can stain hands or surfaces.
- Shape while warm: The mixture is easier to mold immediately after removing from the solution.
- Let them sit: Drying time improves bounce and reduces stickiness.
Make sure young children are supervised and don’t place the mixture in their mouths.
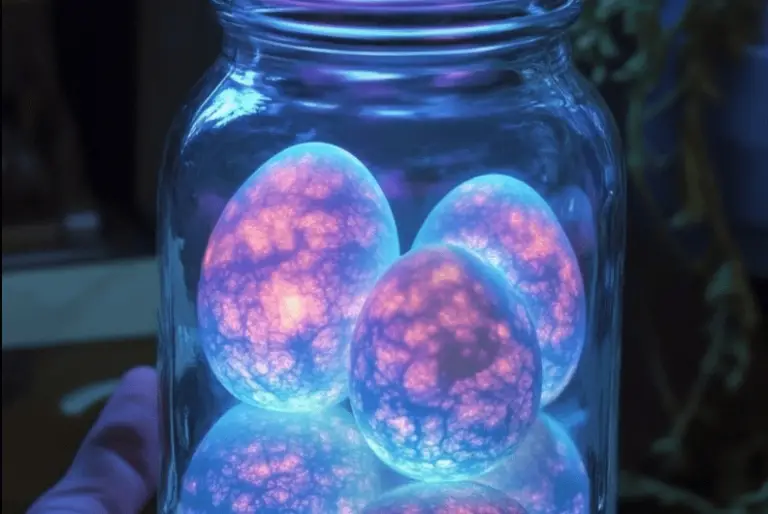
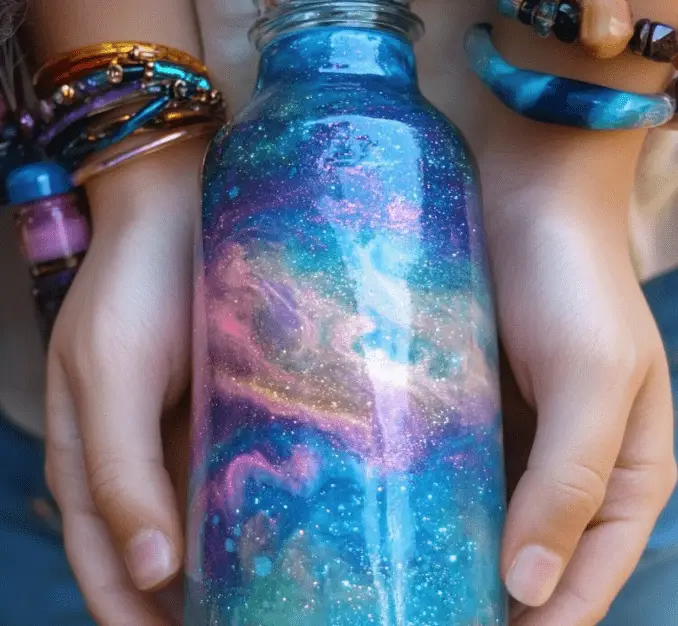
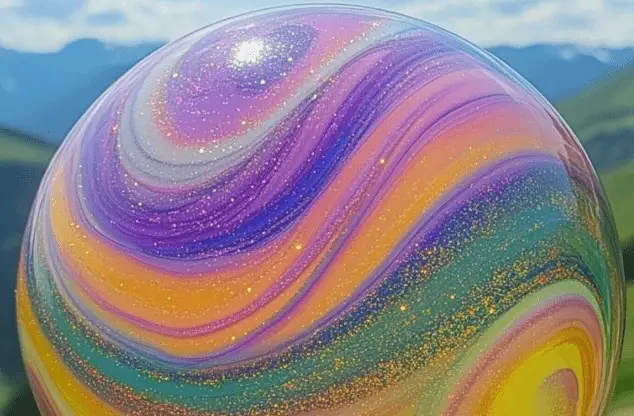
What Do They Look Like?
The finished bouncy balls are bright, colorful, and slightly translucent. Depending on how many colors you use, you’ll see a vibrant swirl or striped effect in your final product. The texture is rubbery and smooth, and the bounce is lively on hard surfaces.
If you press the colored balls together carefully, the transition between shades will be seamless, creating a true rainbow effect. Each ball will be slightly unique in color pattern and size, making every creation one of a kind.
How to Store
To keep your bouncy balls fresh and functional for multiple uses:
- Store in an airtight plastic bag or container to prevent them from drying out.
- Keep away from heat and direct sunlight, which can cause them to lose their shape.
- Use wax paper or foil if storing multiple balls together, to keep them from sticking.
- Avoid water exposure after drying, as it may weaken the polymer structure.
Stored properly, the bouncy balls can last up to one week or more, depending on humidity and use.

The Homemade Rainbow Bouncy Balls craft is a perfect combination of color, creativity, and simple science. It’s a low-cost activity that turns everyday materials into a magical play experience. With just glue, borax, water, and coloring, children can make their very own bouncy toys that reflect their personal style and imagination.
This activity is a great pick for birthday parties, school projects, or rainy day boredom busters. It sparks curiosity, encourages learning, and gives kids something tangible to show for their effort.
FAQ
Are these bouncy balls safe for all ages?
They’re safe with adult supervision. Always prevent small children from putting the mixture in their mouths.
Can I use white glue instead of clear glue?
Yes, but the colors may look slightly more pastel or muted.
Why is my ball too sticky?
It likely needs more time in the borax solution or more squeezing and shaping.
Can I reuse the borax solution?
Yes. You can use the same solution for several rounds of ball-making.
How long do the balls last?
Typically one week when stored properly. They will gradually lose elasticity over time.