How to Make Magical DIY Dragon Eggs: A Fun and Creative Craft for All Ages
If you’re looking for a craft that’s equal parts imaginative and easy to make, these whimsical DIY Dragon Eggs are the perfect project. With their enchanting colors and glittering decorations, these mystical eggs are sure to spark joy in kids and adults alike. Whether you’re preparing for a fantasy-themed party, decorating a child’s room, or simply indulging in an afternoon of creativity, this craft offers endless possibilities for self-expression and fun.
Table of Contents
In this guide, you’ll find everything you need to bring your Dragon Eggs to life — including materials, step-by-step instructions, creative tips, benefits of the activity, and more. So grab your crafting supplies, let your imagination soar, and prepare to hatch some magic!
Ingredients and Materials You’ll Need
Creating DIY Dragon Eggs doesn’t require expensive materials. In fact, most of what you need can be found around the house or picked up at a local craft store.

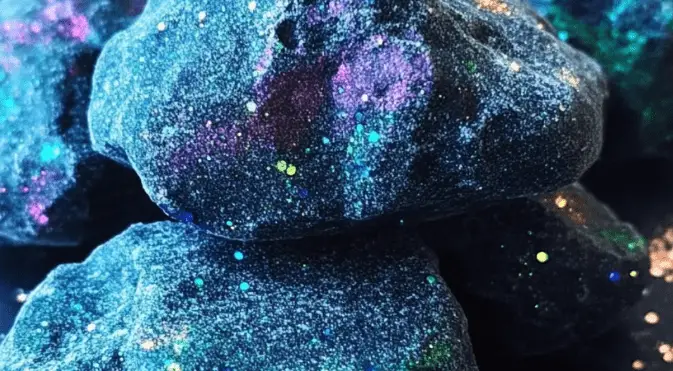
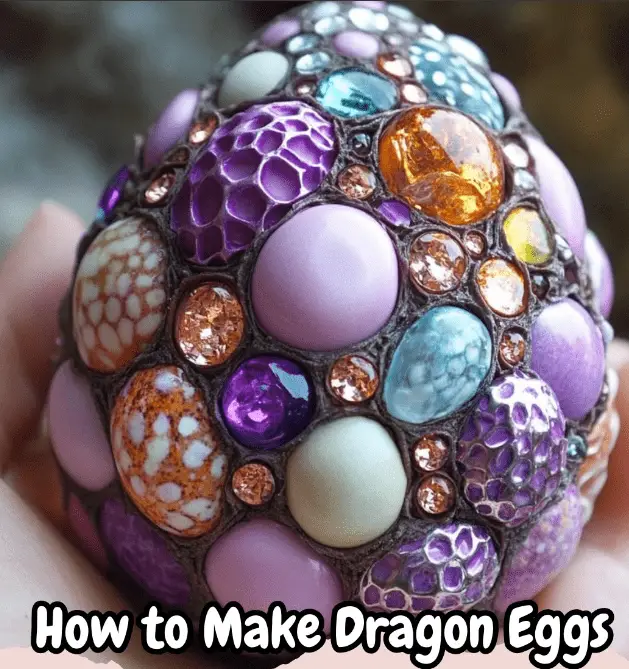
- Aluminum foil – Used to form the base shape of your dragon eggs.
- Air-dry clay – This will be the outer shell of the egg. It’s easy to mold and doesn’t require baking.
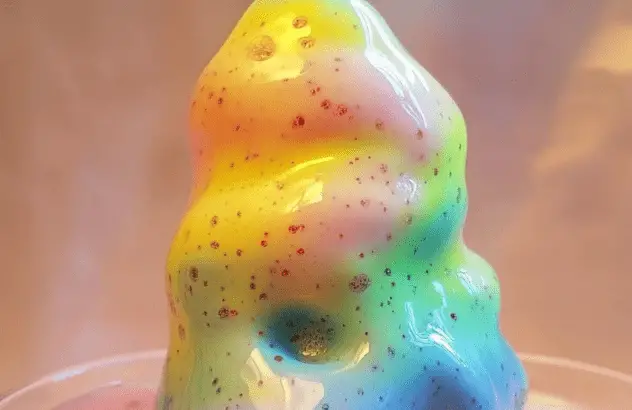
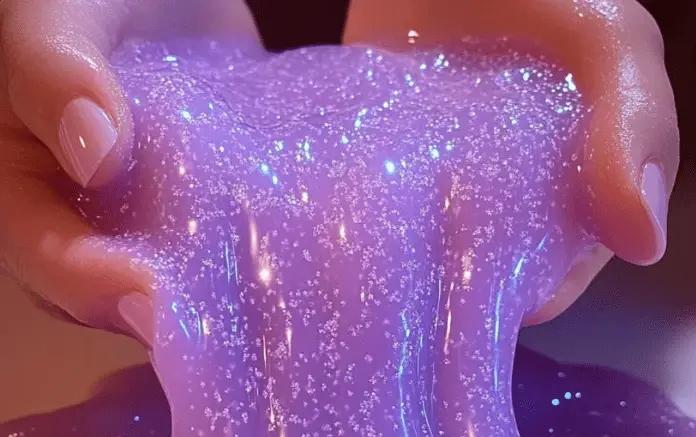
- Liquid watercolors or food coloring – Ideal for adding color to your clay. Go bold and vibrant!
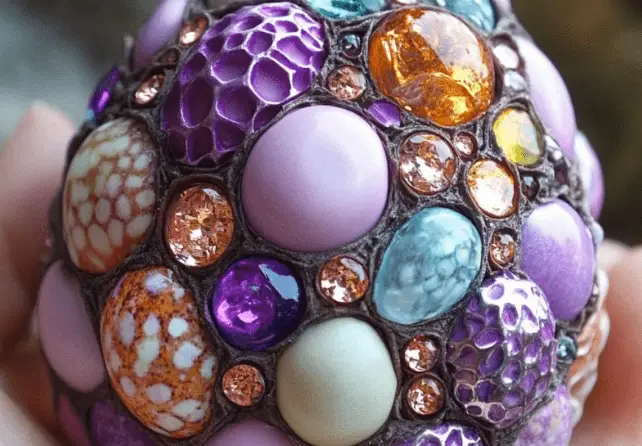
- Acrylic beads – These give your eggs a jeweled, magical touch.
- Jewels – Think faux gems or rhinestones for sparkle and shine.
- Stones – Small polished stones or pebbles create texture and variety.
- Seashells – Add an oceanic flair and natural beauty.
- Beach glass – For a mysterious, ancient feel.
- Rocks – Earthy elements balance out the shine with a raw touch.
Step-by-Step Instructions
These Dragon Eggs are so easy to make, you’ll want to create a whole nest of them. Follow these simple steps to craft your fantasy-inspired decorations:
1. Color the Clay
Start by choosing a white air-dry clay. If you’d like your dragon eggs to have vibrant, magical hues, knead in a few drops of liquid watercolor or food coloring. Mix well until the color is evenly distributed. Don’t be afraid to get your hands messy!
2. Shape the Base
Tear off a sheet of aluminum foil and roll it into an egg shape. This will be the core of your dragon egg, giving it volume without using too much clay.
3. Cover with Clay
Take your colored clay and wrap it around the foil base. Gently press and smooth it out until the foil is completely covered and the surface looks like a real egg — or at least an ancient relic from a dragon’s lair.
4. Add Decorative Elements
Here’s where the real fun begins. Press acrylic beads, jewels, seashells, polished stones, beach glass, and rocks into the clay. You can create scales, patterns, or a random assortment of magical embellishments. Let your creativity guide you!
5. Let it Dry
Place your finished eggs on a flat surface and allow them to dry for about 24 hours. Once dry, you can leave them as is or give them an additional layer of color using acrylic paints or metallic finishes.
And just like that — your mystical Dragon Eggs are ready to enchant.
Benefits of Making DIY Dragon Eggs
Crafting these magical eggs isn’t just fun — it’s surprisingly beneficial, especially for kids and families. Here’s how:
1. Boosts Creativity
This craft encourages imagination. Each egg can be completely unique, letting crafters explore colors, textures, and fantasy elements freely.
2. Enhances Fine Motor Skills
Rolling clay, pressing in small beads, and shaping the egg all help develop hand-eye coordination and fine motor control, especially in young children.
3. Relieves Stress
Working with your hands is naturally calming. This project is an ideal activity for reducing anxiety and practicing mindfulness.
4. Encourages Storytelling
Once the eggs are complete, kids often build stories around them: What kind of dragon will hatch? Where did the egg come from? This sparks creative writing and imaginative play.
5. Low Cost, High Value
Most materials are inexpensive or recyclable, making this an affordable way to engage the whole family in something magical.
Tips for Making the Most Magical Dragon Eggs
Want to take your dragon egg creations to the next level? Keep these helpful tips in mind:
- Use gloves when mixing in food coloring to avoid staining your hands.
- Add glitter to your clay or on top after painting for a sparkly finish.
- Incorporate glow-in-the-dark paint to give your dragon eggs a mystical glow at night.
- Try themed colors like “forest dragon” with greens and browns or “ice dragon” with blues and silvers.
- Group your eggs in a nest made of twigs or moss for a striking display.
- Seal with varnish once dry if you want a glossy, finished look or plan to keep them as decorations for a long time.
Conclusion: A Magical Craft for All Ages
Creating DIY Dragon Eggs is more than just a craft — it’s a chance to escape into a world of magic and creativity. Whether you’re making them solo or with a group of kids, the process is simple, satisfying, and endlessly customizable. Display them on shelves, use them as party favors, or gift them as enchanted treasures — however you choose to enjoy them, these eggs are sure to cast a spell.
So gather your materials, set aside an hour or two, and start crafting your own magical dragon story — one egg at a time.
Frequently Asked Questions
How long do the dragon eggs take to dry?
Typically, air-dry clay takes around 24 hours to fully set, depending on humidity and thickness. You can speed up the process by placing them in a warm, dry area.
Can I use oven-bake clay instead of air-dry clay?
Yes! If you prefer, you can use oven-bake polymer clay. Just remember to follow the baking instructions on the package.
Are these eggs durable?
Once fully dried or baked (if using oven-bake clay), the eggs become quite sturdy. However, they should still be handled with care, especially if decorated with delicate elements like seashells or glass.
Can I paint the eggs after drying?
Absolutely. You can use acrylic paint or metallic craft paints to add layers, shading, or special effects to your eggs once they’re dry.
Are these safe for small kids?
This craft is great for kids but should be supervised, especially if using small beads or sharp-edged materials like glass or shells.
Other Sources for More Inspiration
Looking to explore more magical crafts or build an entire fantasy-themed day? Here are a few sources that can spark further inspiration:
- Pinterest – Search for terms like “dragon crafts,” “fantasy DIY,” or “air dry clay projects.”
- YouTube tutorials – Many creators share video walkthroughs of fantasy egg or clay decoration techniques.
- Fantasy-themed children’s books – Use stories like Eragon or How to Train Your Dragon as a backdrop for themed craft days.
- Craft blogs and art forums – Join communities like Reddit’s r/DIY or Instructables for user-generated tutorials and tips.
Whether you’re a seasoned crafter or just getting started, these DIY Dragon Eggs are a magical way to spend a few hours. They’re fun to make, beautiful to display, and can lead to a full-on adventure of creativity. Try them today — and don’t forget to share your enchanting results with fellow fantasy lovers!