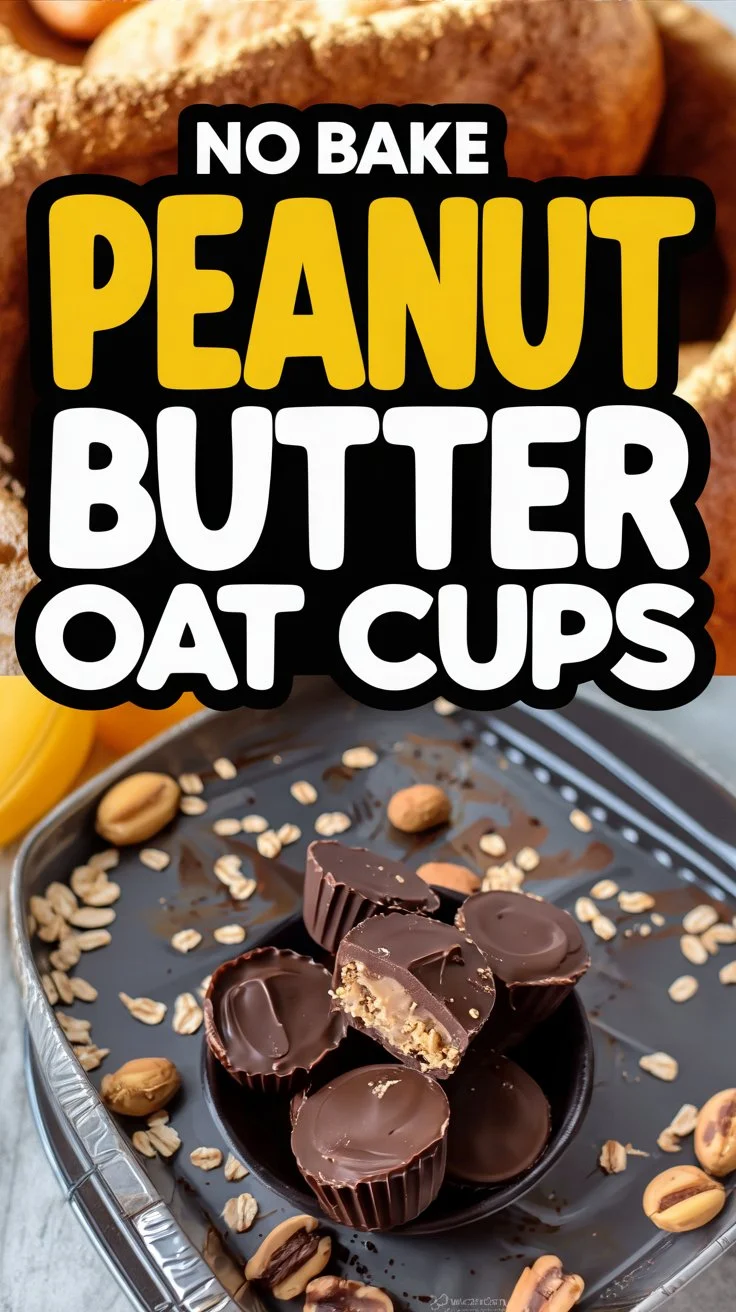
No Bake Peanut Butter Oat Cups
Short, Catchy Intro
So you are craving something tasty but too lazy to spend forever in the kitchen, huh? Same. These No Bake Peanut Butter Oat Cups are the perfect solution when your snack attack is urgent and your motivation is low. They are fast, forgiving, and suspiciously good for something that required zero oven time. Let us make snack magic happen.
I even tested a batch while texting a friend and it still turned out great. You can do this while binge watching, while folding laundry, or while pretending you are on a cooking show. Want to try something similar later? Check out these fun peanut butter cheesecake balls for dessert inspiration here: peanut butter cheesecake balls.
Why This Recipe is Awesome
- It is stupid simple. If you can spoon peanut butter into a bowl you can make these.
- No oven required. Your AC will thank you in summer. Your smoke alarm will file a complaint with you in winter.
- The texture hits that perfect balance of chewy and chocolatey. Crunch? Not needed. Comfort food? Absolutely.
- It is flexible. Want more sweet or less sweet? Easy. Want to add mix ins? Go wild. IMO this is snack freedom.
Big win: the base is essentially foolproof. Minor win: you get to call what you made a "cup" and feel fancy.
Ingredients You’ll Need
- 1.5 cups peanut butter
- 1.5 cups rolled oats, processed finely in a food processor to make oat flour
- 1/4 cup maple syrup
- 1 cup chocolate chips
- 1 tsp coconut oil, optional
Yes that is it. Keep the ingredients chill and pantry friendly. If your peanut butter is the runny, ridiculous kind you might want to chill it a bit before mixing. If it is thick and heroic you are good to go.
Step-by-Step Instructions
- Blend oats in a high-speed blender or food processor to make oat flour.
- Add your peanut butter and maple syrup to a medium sized microwave-safe bowl and microwave for 40-60 seconds. Stir thoroughly until peanut butter and maple syrup is completely combined.
- Next, slowly add the blended oats to the bowl and mix well. It should take some effort to mix. You can also use a food processor to do this. The mixture should be very thick, but easily moldable. If the mixture looks way too dry and crumbly, add more maple syrup or PB about a teaspoon extra at a time. You can also add 1/4-1/3 cup of pumpkin puree for a moister cup.
- Prepare a muffin pan by lining with cupcake liners. Or, use a silicone muffin pan as shown here for the easiest method. Note that these will be difficult to remove from your muffin pan without liners. You can also make them in a mini muffin silicone pan or mini muffin tin with paper liners.
- Scoop the peanut butter oat mixture evenly into the muffin pan and press down with your fingers.
- In a microwave-safe small bowl, add chocolate chips and coconut oil. Heat in 30 second increments until chocolate is completely melted and smooth. Stir with a spoon in between microwave sessions.
- Pour a layer of chocolate into each muffin hole and smooth the top with the back of a spoon. Optional sprinkle flaky salt, sprinkles, or mini chocolate chips on top of the chocolate layer before the chocolate hardens.
- Refrigerate for 2-3 hours to let set completely. Carefully remove them from the muffin pan, liner, or silicone pan. Store in an airtight container for up to 5 days for best freshness. Since they’re not baked and use fresh ingredients like maple syrup, store them in the refrigerator over room temperature.
Common Mistakes to Avoid
- Thinking you can skip blending the oats. If you leave them whole the texture gets weird and crumbly. Blend them. Don’t be lazy on this step.
- Using a muffin tin without liners and then expecting the cups to pop out like magic. Spoiler: they will stick. Use liners or silicone.
- Melting chocolate too fast and then burning it. Heat in short bursts and stir. Patience pays off.
- Adding too much liquid at once. A teaspoon of extra maple syrup or PB at a time is the safe route. You are not making soup.
- Forgetting to refrigerate long enough. If you try to eat them too soon the chocolate will slip and your hands will become the secondary snack. You were warned.
Alternatives & Substitutions
- Swap peanut butter for almond butter or sunflower seed butter if you need nut free. The flavor changes but the concept stays great.
- Use honey instead of maple syrup if that is what you have. It will be a tad sweeter but still awesome. FYI maple gives a cleaner flavor.
- Want vegan chocolate? Use dairy free chocolate chips. The coconut oil still helps create a glossy finish.
- If you want extra texture stir in chopped nuts, puffed rice, or toasted coconut. I love a little crunch, but judge by personal preference.
- Short on oats? Grind quick oats or even old fashioned ones. Do not use instant oatmeal packets with flavoring. That is cheating.

FAQ (Frequently Asked Questions)
Q Why do my cups fall apart when I try to remove them
A Did you let them set long enough or skip the liners? Chill them for at least 2 hours and use liners or a silicone pan. That usually fixes it.
Q Can I use crunchy peanut butter instead of smooth
A Yes absolutely. The texture will be chunkier which some people prefer. Honestly crunchy PB is a vibe.
Q Can I freeze these for later
A Sure thing. Freeze them in an airtight container with parchment between layers. Thaw in the fridge for 20 to 30 minutes before eating. They hold up well.
Q How long do they last in the fridge
A Up to 5 days for best freshness. After that they still exist but start to lose their charm. Use common sense.
Q Can I make mini versions
A Yep. Use a mini muffin pan and reduce chilling time slightly. They are perfect for parties or portion control if you are trying to be good.
Q What if I do not have coconut oil
A Not a deal breaker. The chocolate will still melt fine but might be a touch thicker. You can skip it or add a tiny splash of neutral oil.
Q Can I sweeten differently like with sugar
A You could use light corn syrup or agave but maple syrup keeps the texture just right. Sugar will not mix in as smoothly.
Final Thoughts
You made it this far so you are clearly committed to snack greatness. These No Bake Peanut Butter Oat Cups are one of those small triumphs that make life tastier without the drama. They are fast, adaptable, and they reward slight laziness with maximum deliciousness.
Pro tip Offer them to friends and tell them you baked them. I will not tell. Enjoy responsibly or not. Now go impress someone or yourself with your new culinary power move. You earned it.
Conclusion
If you want more inspiration, check out these similar recipes and ideas: No Bake Peanut Butter Oat Cups 4 Ingredients, 6 Ingredients No Bake Peanut Butter Chocolate Oat Cups, and No-Bake Peanut Butter Oat Cups – Fit Foodie Finds.
Print
No Bake Peanut Butter Oat Cups
- Total Time: 180 minutes
- Yield: 12 servings 1x
- Diet: Vegetarian
Description
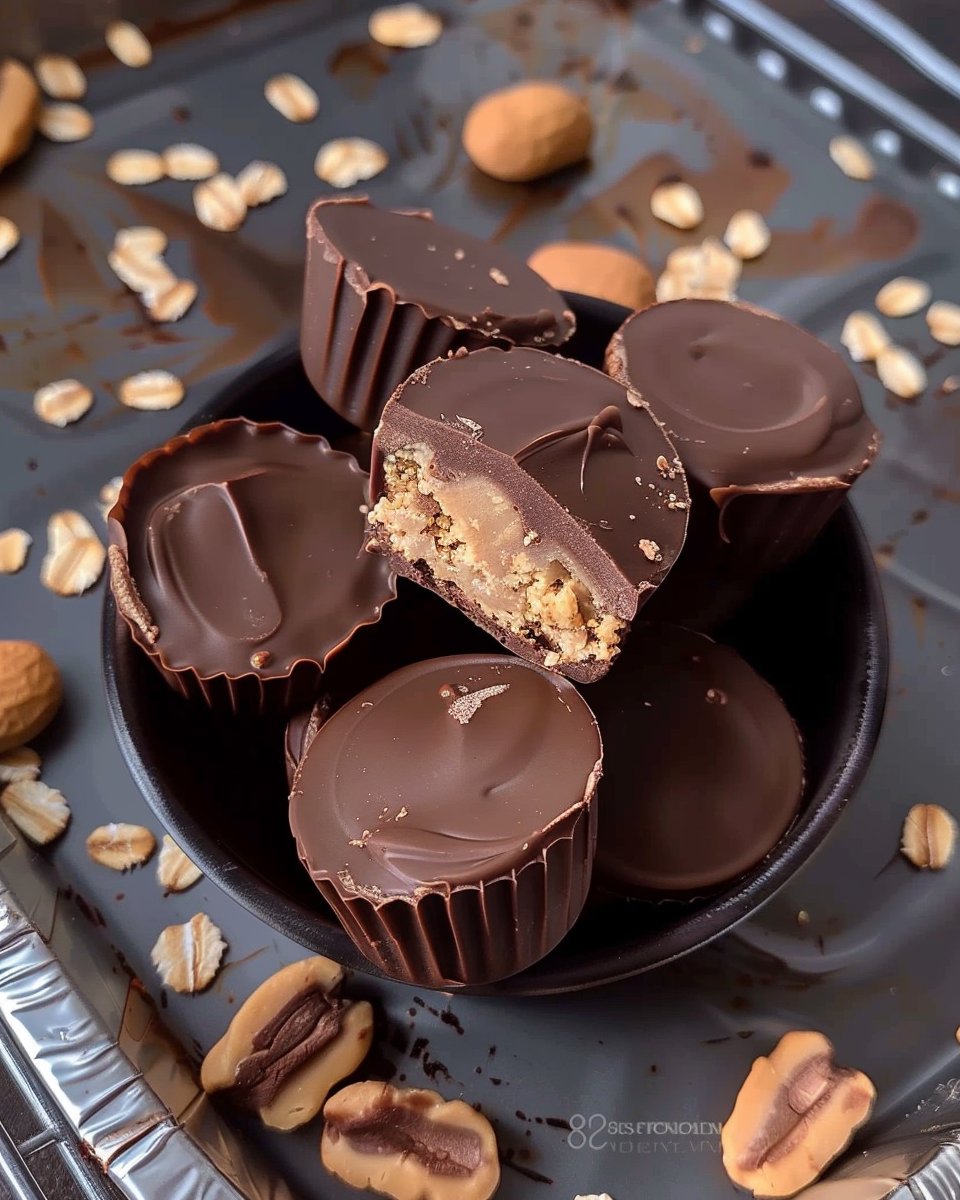
Quick and easy no bake cups that combine peanut butter, oats, and chocolate for a delicious snack.
Ingredients
- 1.5 cups peanut butter
- 1.5 cups rolled oats, processed finely
- 1/4 cup maple syrup
- 1 cup chocolate chips
- 1 tsp coconut oil (optional)
Instructions
- Blend oats in a high-speed blender or food processor to make oat flour.
- Add your peanut butter and maple syrup to a medium sized microwave-safe bowl and microwave for 40-60 seconds. Stir until fully combined.
- Slowly add the blended oats to the bowl and mix well. Adjust consistency if needed.
- Prepare a muffin pan by lining with cupcake liners.
- Scoop the mixture evenly into the muffin pan and press down.
- In a microwave-safe bowl, melt chocolate chips and coconut oil in short increments, stirring until smooth.
- Pour chocolate into each muffin hole and smooth the top. Optional: add toppings.
- Refrigerate for 2-3 hours to set completely.
- Carefully remove from the pan and store in an airtight container.
Notes
Ensure to refrigerate long enough for the cups to set properly. Use liners or silicone pans for easy removal.
- Prep Time: 15 minutes
- Cook Time: 0 minutes
- Category: Snacks
- Method: No Bake
- Cuisine: American
Nutrition
- Serving Size: 1 cup
- Calories: 200
- Sugar: 10g
- Sodium: 250mg
- Fat: 12g
- Saturated Fat: 2g
- Unsaturated Fat: 8g
- Trans Fat: 0g
- Carbohydrates: 19g
- Fiber: 3g
- Protein: 8g
- Cholesterol: 0mg
Keywords: no bake, peanut butter, snacks, chocolate, quick recipes