Ingredients
- Clear or white ornaments (plastic or glass)
- Nail polish (variety of fast-drying colors)
- Disposable container or plastic tub (deep enough for dipping)
- Toothpicks or skewers (for swirling)
- Room temperature water
- Rubber gloves (optional)
- Wax paper or drying rack
- Optional: ribbon, glitter, or metallic nail polish for accents
Cook Mode Prevent your screen from going dark
Instructions
- Prepare your space: Cover your area with wax paper and put on gloves. Fill the container ¾ full with room temperature water.
- Drip the polish: Drop different colors of nail polish onto the water's surface one at a time. Work quickly as it starts to dry fast.
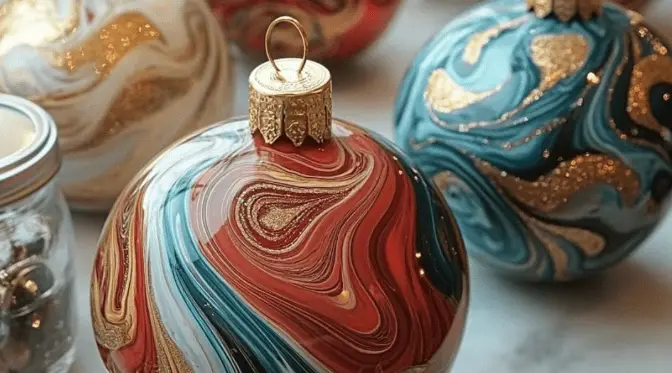
- Swirl your pattern: Use a toothpick to gently swirl the polish into your desired marbled effect.
- Dip the ornament: Hold the ornament by its top or with a skewer and slowly dip it into the swirled polish. Rotate slightly, then lift out.
- Dry completely: Set the ornament on wax paper or hang it to dry for several hours.
- Finish and display: Optional—add another layer or spray with sealant. Tie with a ribbon and hang on your tree or gift as a handmade treasure.
Notes
- Use room temperature water for best results. Try working in a well-ventilated area due to nail polish fumes. Each ornament will be uniquely beautiful!